1. Viewing the list and the actions
Click Main menu / Stock management / Storage locations and shelves / List to see all location codes created so far. The menu item is in the Additional data section of the Stock management menu. Above the table, on the Actions tab, you will find the buttons:
- New: creates a new location code on an empty sheet. Use it when you want to enter a single location code manually.
- Open: opens the sheet of the selected location code so you can edit its data.
- Delete: deletes the selected location code after confirmation.
- Import: opens the import wizard in a new tab. Use it when you want to create many location codes at once.
- Export: opens the export wizard in a new tab to take location code data out of the system.
- Download: a dropdown with the XLSX option, which downloads the location codes as an Excel spreadsheet.
- Print: a dropdown with the Location code label and All location code labels options.
- Products at location code, Pallets at location code, List of serial numbers and Historical movements: show the stock data of the selected location code (see step 5).
To select a row, click it; the selected row is highlighted. Right-clicking a row also gives you the New, Open and Delete actions in a context menu. The screenshots were taken from the Hungarian interface.
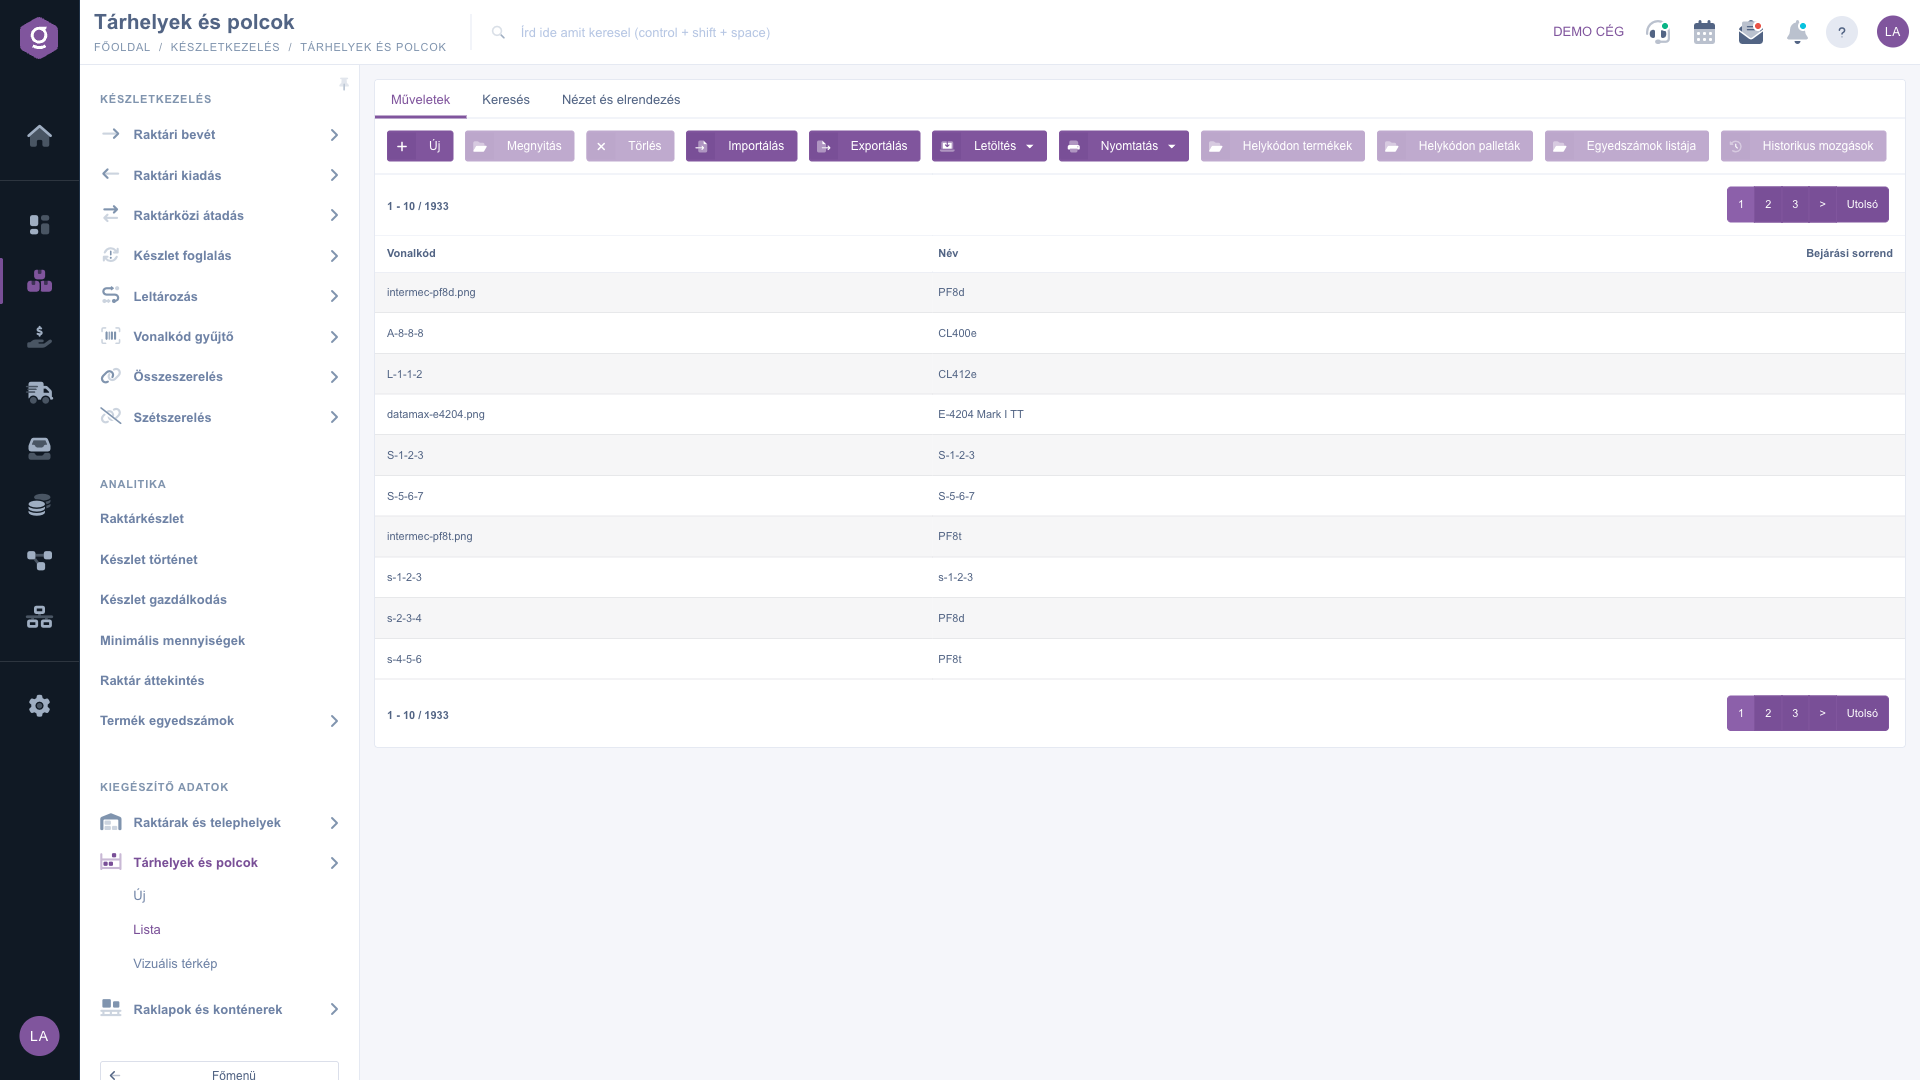
Storage locations and shelves list – Actions tab (Műveletek)
2. Searching among location codes
On the Search tab you will find four filters. Fill in the ones you need, then click the Search button:
- Name: filters by text or part of text in the name of the location code.
- Location code barcode: filters by text or part of text in the barcode (e.g. A-8).
- Empty: Yes shows only location codes with no stock, No shows only those that hold stock. Please choose does not filter.
- Sites: shows only the location codes of the selected site.
If any filter is filled in, the list keeps the Search tab open. If there are no results, the table lists the possible reasons, with links to change the search conditions or jump to the first page.
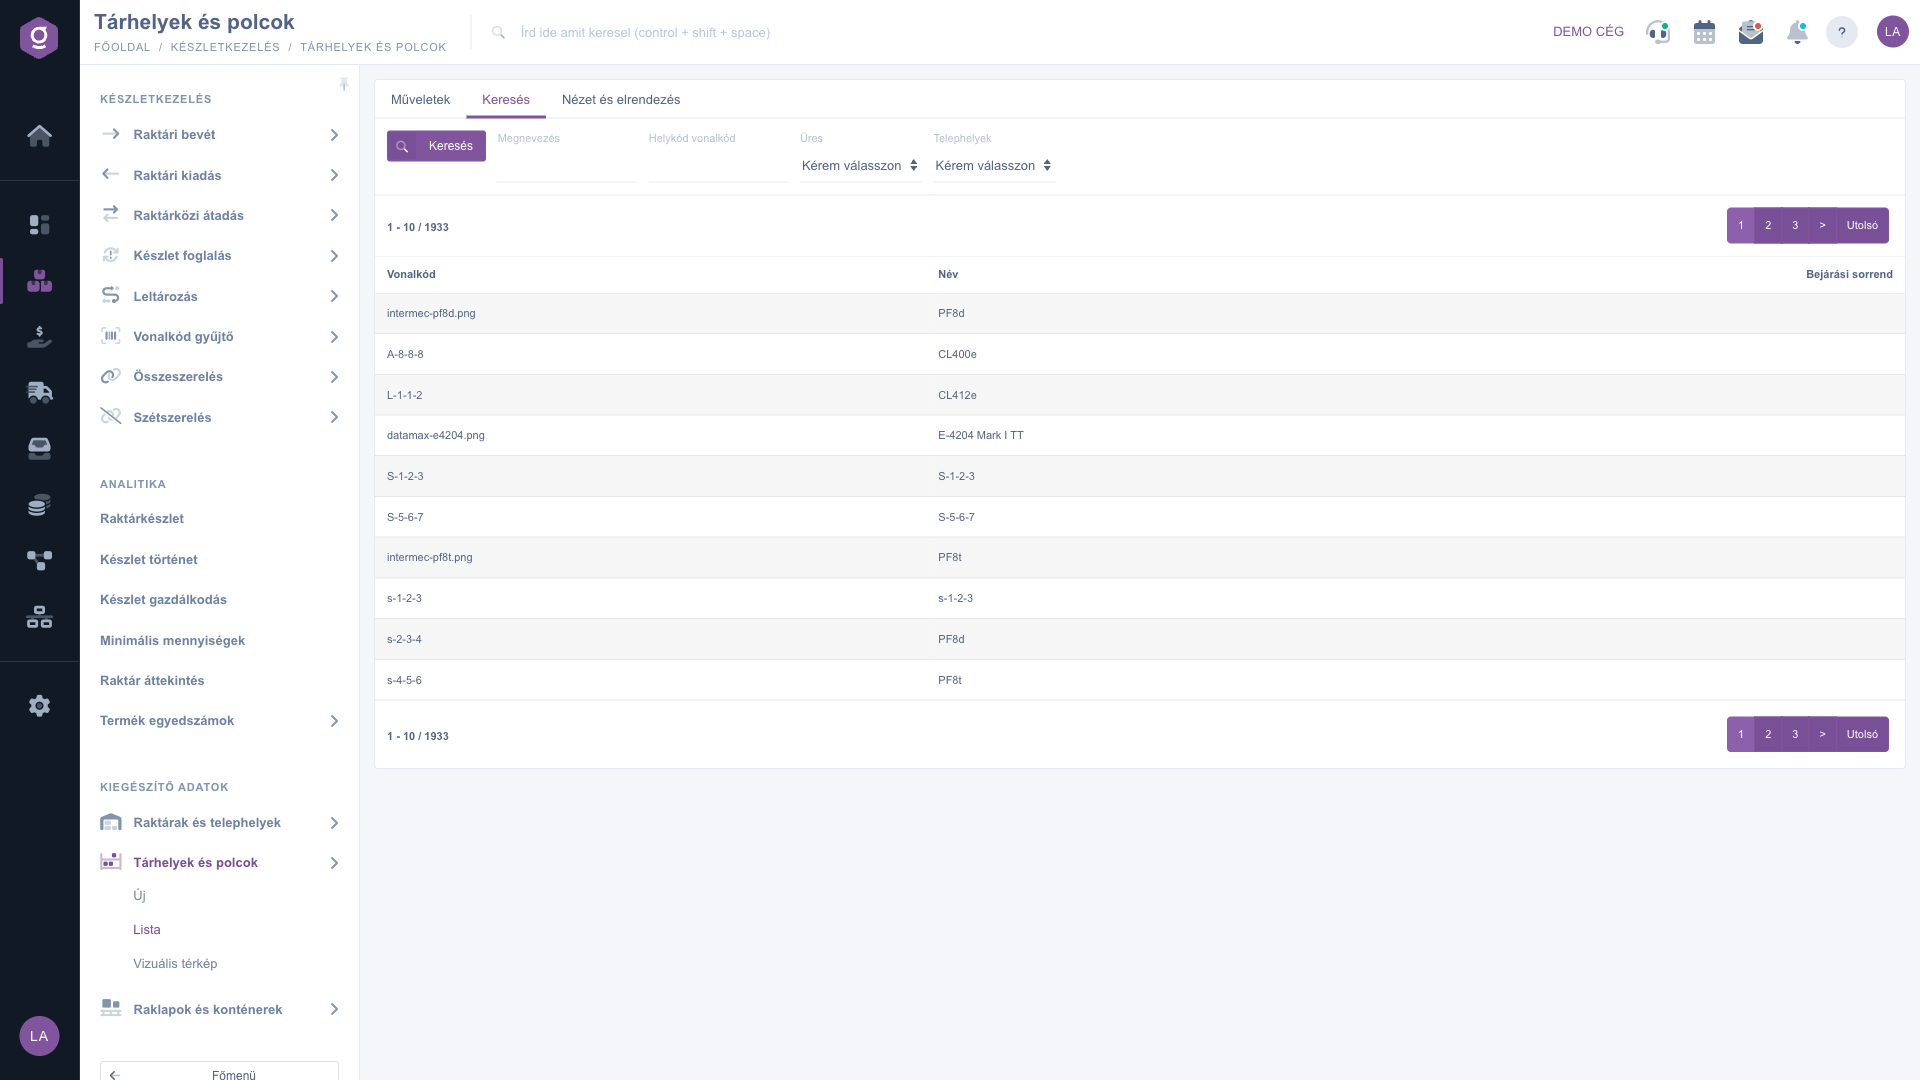
Storage locations and shelves list – Search tab (Keresés)
3. Number of visible rows
On the View and layout tab, click the Rows button (shown as Sorok in the Hungarian interface). In the window that opens, the Visible rows list lets you choose whether a page shows 10, 25, 50 or 100 location codes (the items are labelled document here, a text shared with other lists). The Save button stores the setting, which the system remembers for your session. This list has no column settings: the same three columns are always shown.
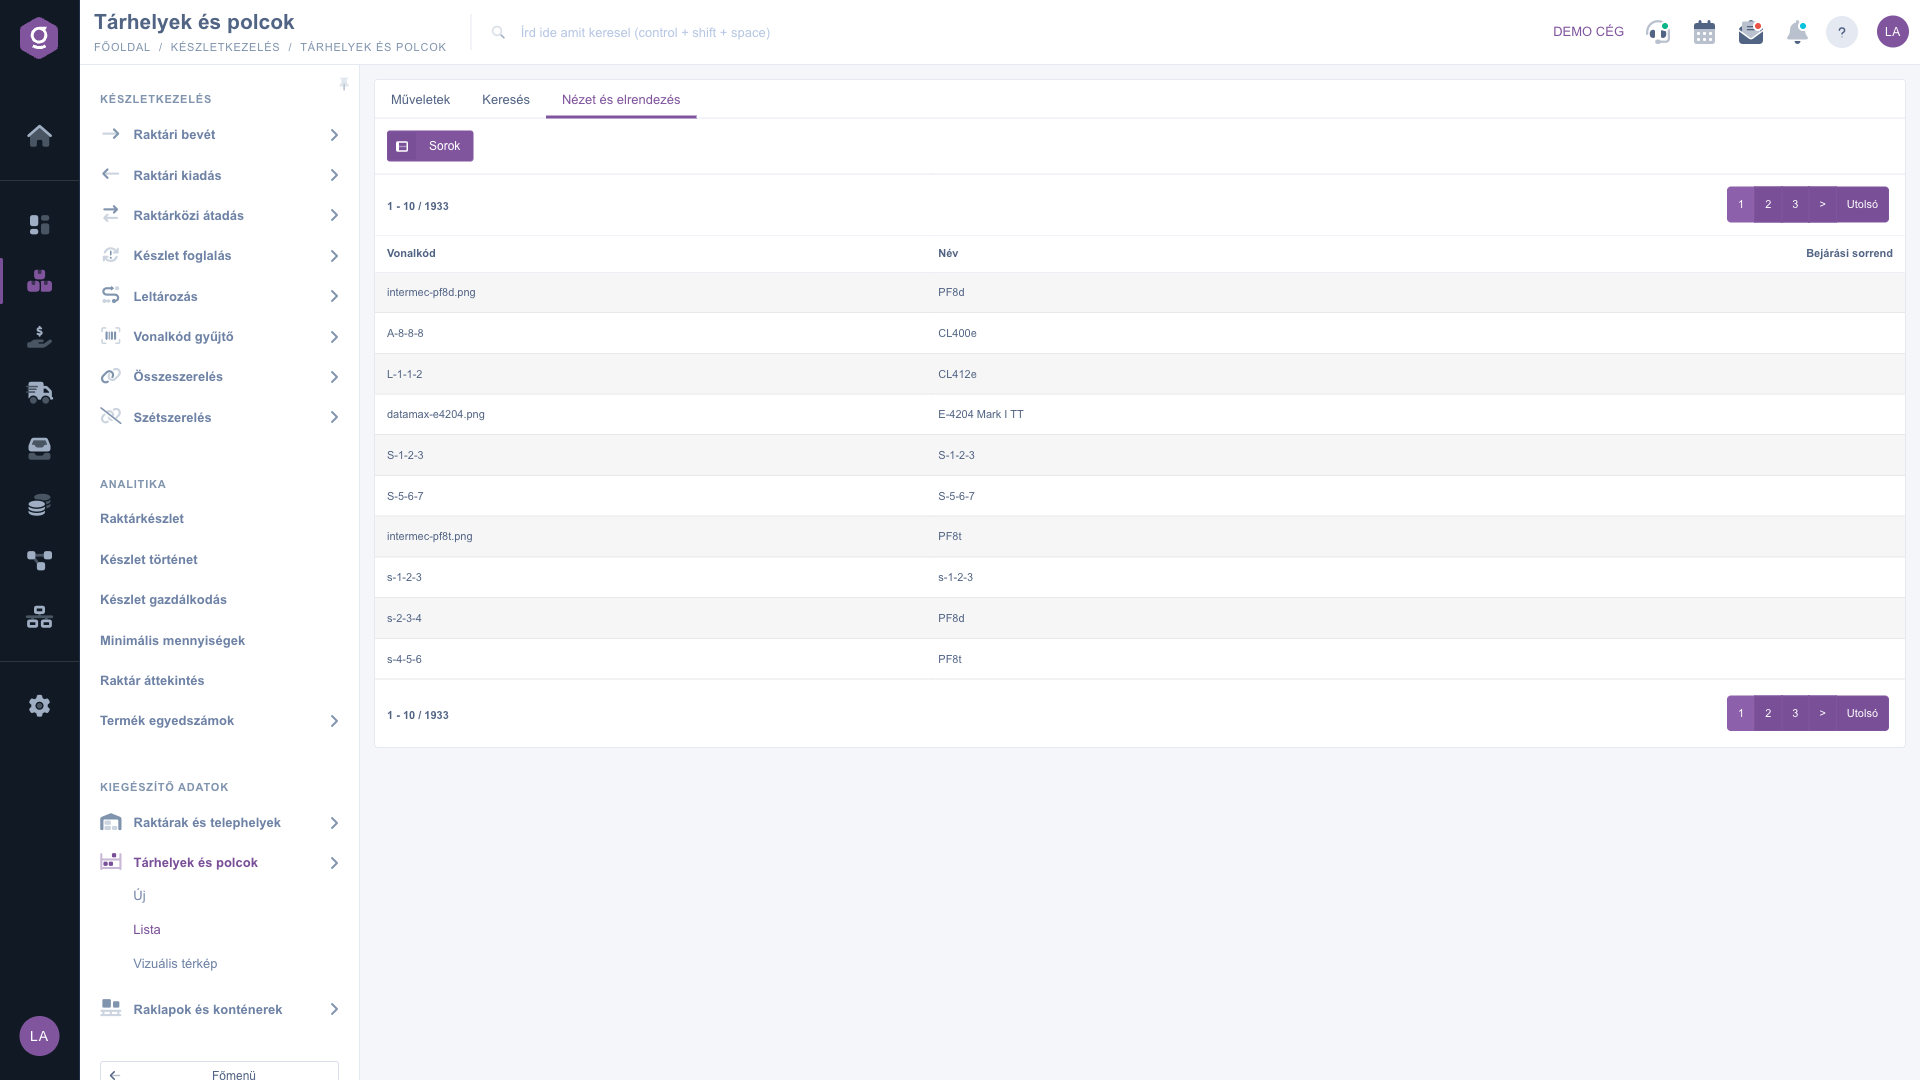
Storage locations and shelves list – View and layout tab (Nézet és elrendezés)
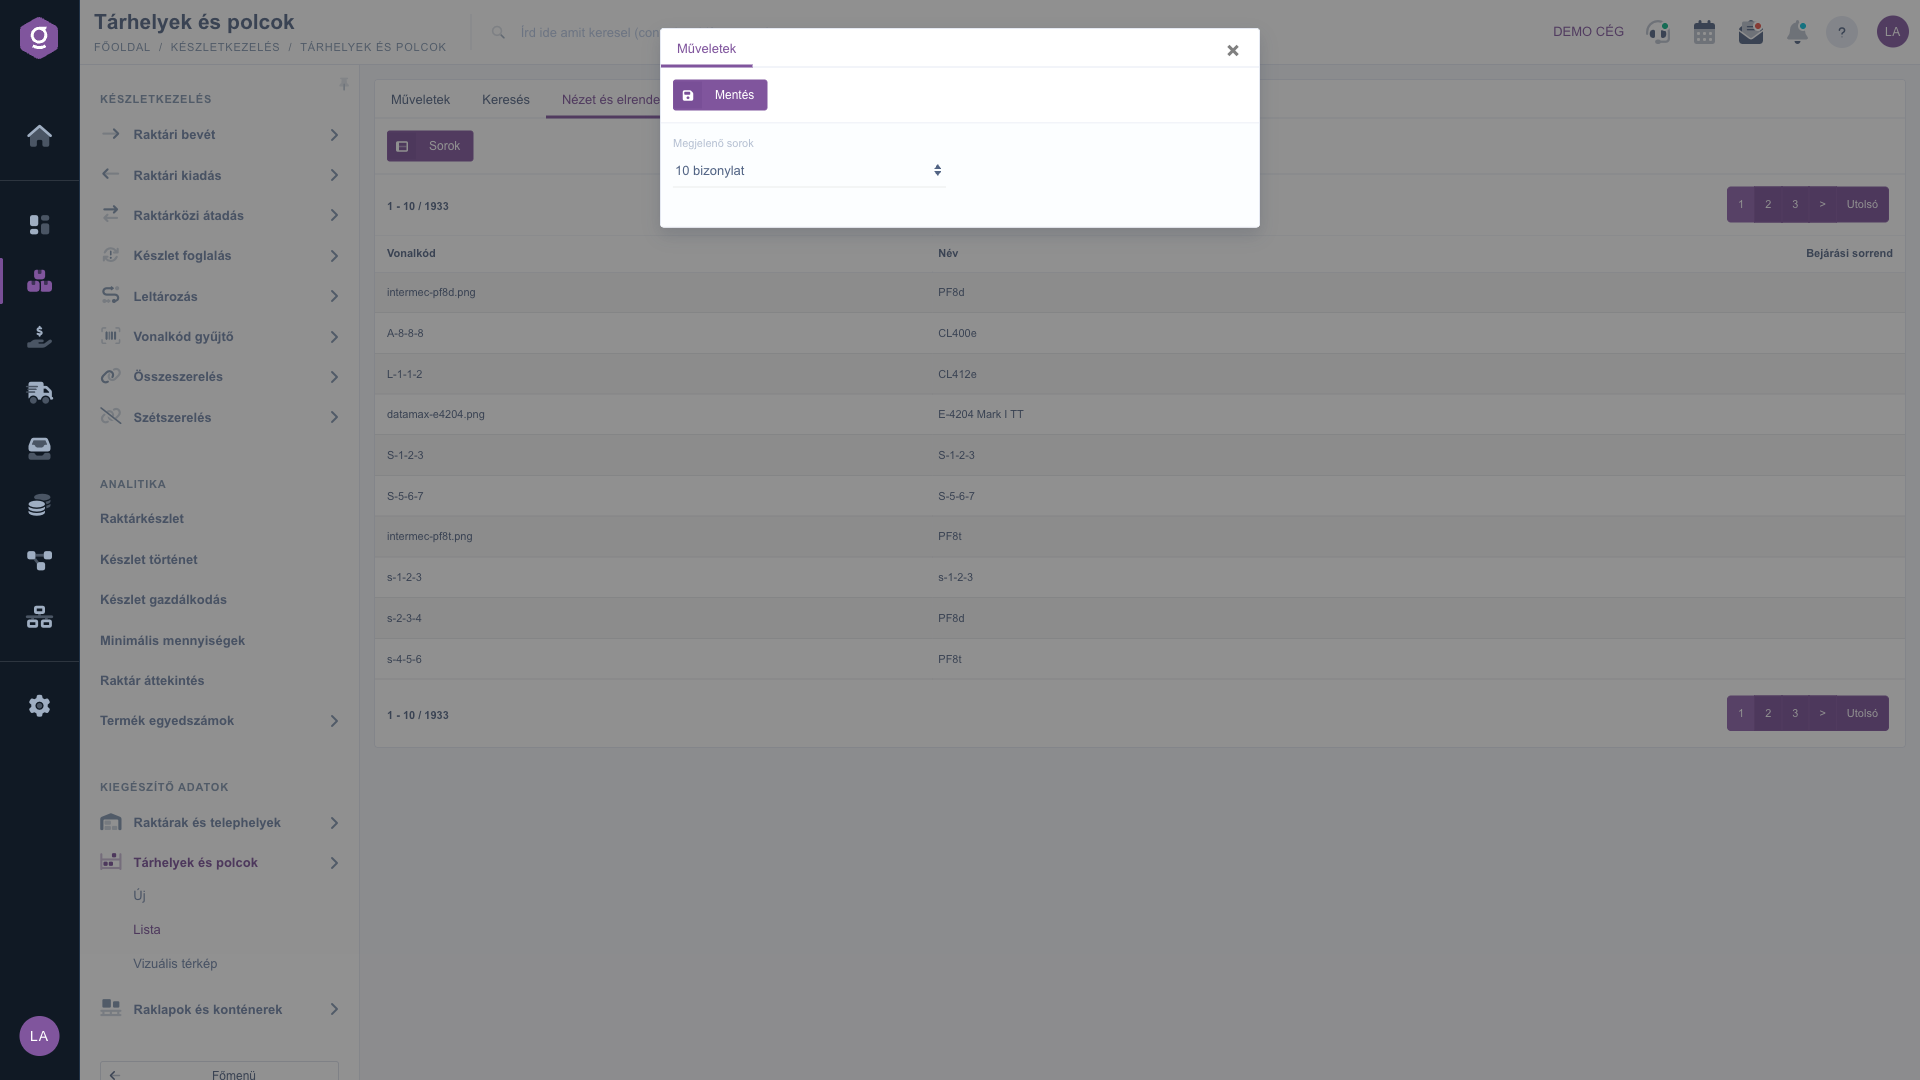
Storage locations and shelves list – the Visible rows window (Megjelenő sorok)
4. Printing a location code label
The Print menu has two options: Location code label creates the label of the selected location code, so click the row first; All location code labels prints for all location codes. A window appears where you choose the language and the template, then the system shows the label as a PDF that you can print and stick on the shelf.
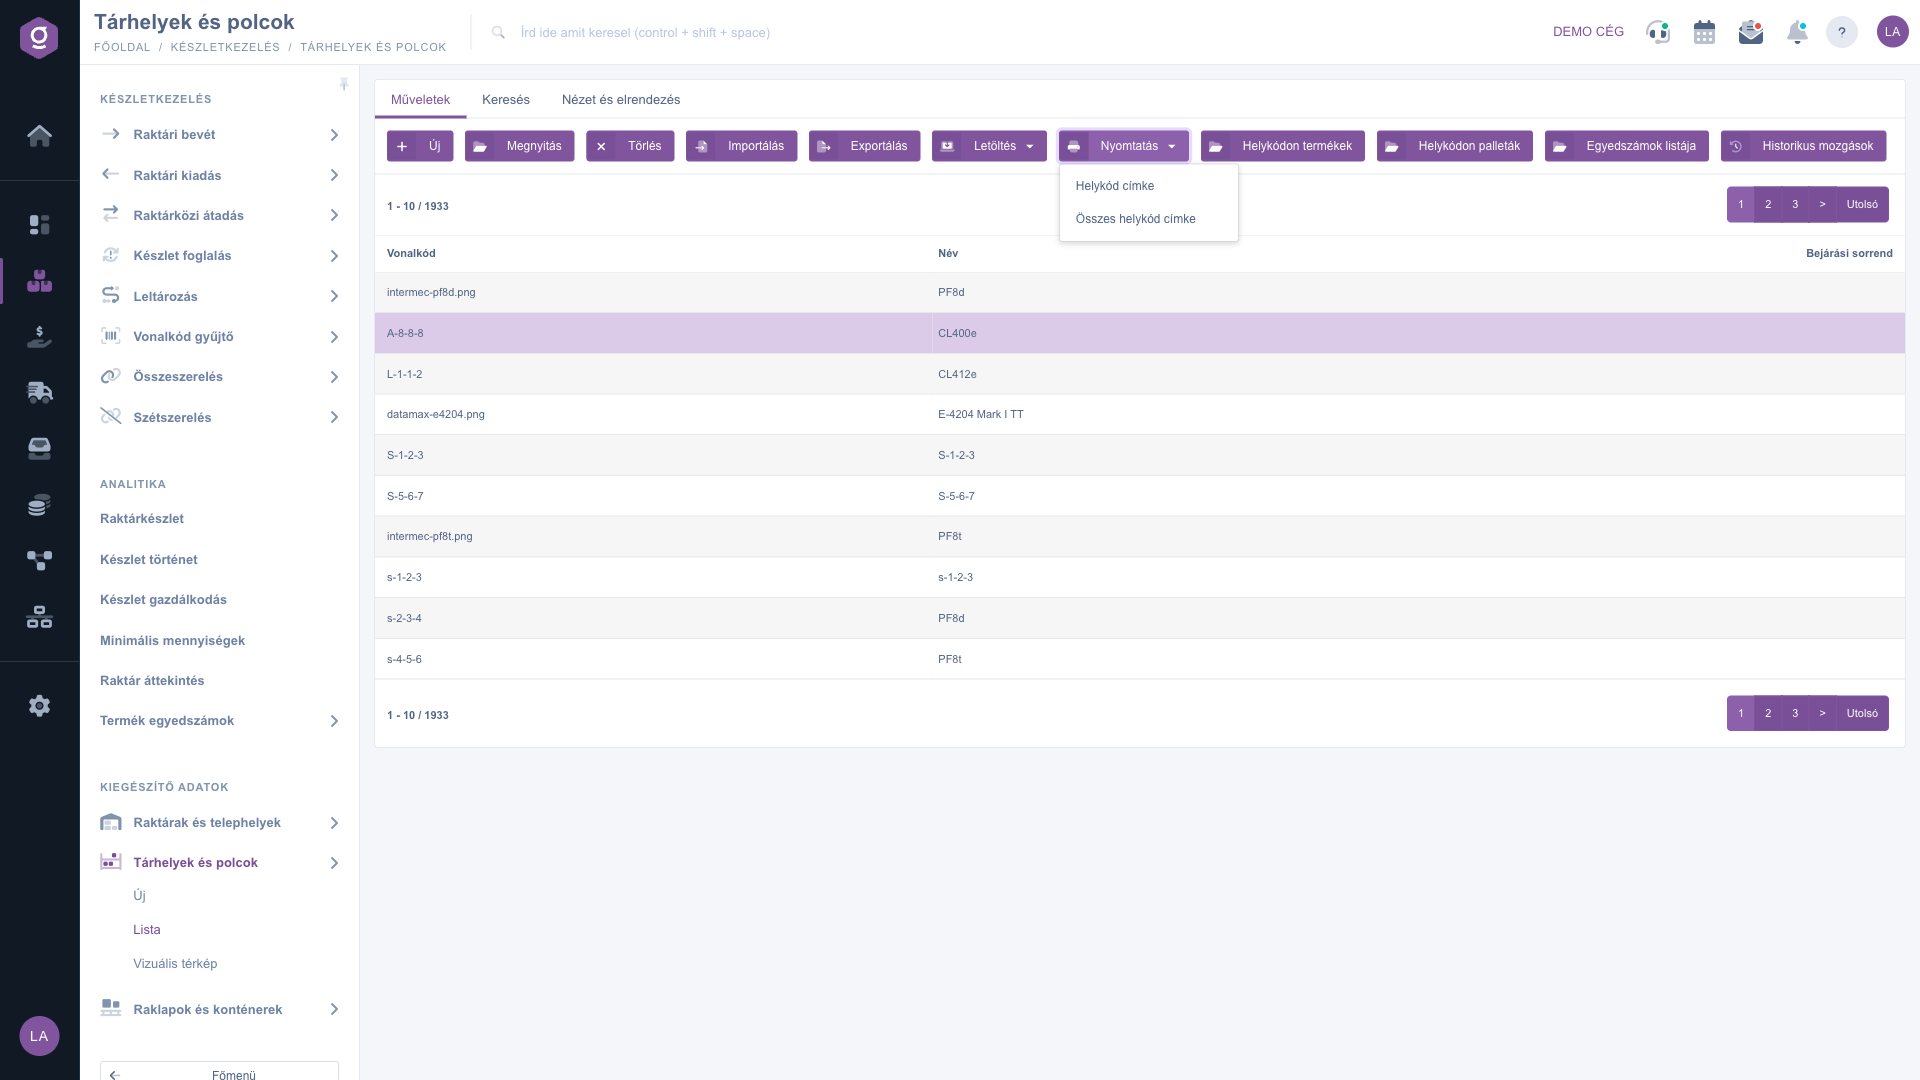
Storage locations and shelves list – the Print menu (Nyomtatás)
5. Stock and movements at the location code
Select a location code, then choose the appropriate button. If no row is selected, the system shows a warning asking you to select an item from the list.
- Products at location code: shows the stock of the products at the location code in a pop-up window.
- Pallets at location code: shows the pallets at the location code in a pop-up window.
- List of serial numbers: shows the not yet used serial numbers at the location code in a pop-up window.
- Historical movements: opens the stock movements list in a new tab, filtered to that location code.
6. Download, import and export
The XLSX option of the Download menu downloads an Excel file with a help sheet describing the fields and a store_locality sheet with the data of all location codes. The file always contains all location codes, regardless of the search filter. The Import and Export buttons open the shared import/export wizard in a new browser tab.
7. Deleting a location code
Select a row and click Delete. The system asks for confirmation (“Are you sure you want to delete the data?”), and after you confirm, the location code disappears from the list. The deletion is logical, but there is no way to restore it in the interface. The system does not check on deletion whether the location code holds stock, so check first with the Products at location code button or the Empty filter.
Tip
To find a free shelf, set the Empty filter to Yes and select the site: you immediately see where you can put new goods. To create many location codes, download the Download > XLSX file, learn the columns to fill in from the help sheet, then upload it with the Import wizard.



