1. Opening the sheet
To create a new task, click Main menu / CRM / Customer management / Task / New. You get to the same place with the New button on the Main menu / CRM / Customer management / Task / List page. To edit an existing task, select it in the list and click Open. If you want to add a task to a project, use the New task button on the project's task page: the task is then created linked to that project.
2. Filling in the header
The fields above the tabs stay visible on every tab:
- Subject: a short name for the task; you see it in the list, on the Kanban card and in the Gantt view.
- Status: the state of the task. The + button next to the field opens the status settings in a new window so you can add a status. Saving a new task always sets the first status.
- Document date: the date the task was created; it is filled in by the system and cannot be edited.
- Reminder: a required field; you can enter a date and a time. By default it contains today's date.
- Priority: how urgent the task is (for example Normal); if you do not change it for a new task, the first priority is saved.
- Planned start and Planned completion: the planned period of the task. If you leave them empty on a new task, the system saves today and tomorrow, and the Gantt view draws the bar from these dates.
- Tags: free keywords shown as badges in the list and on the Kanban card; you can enter several.
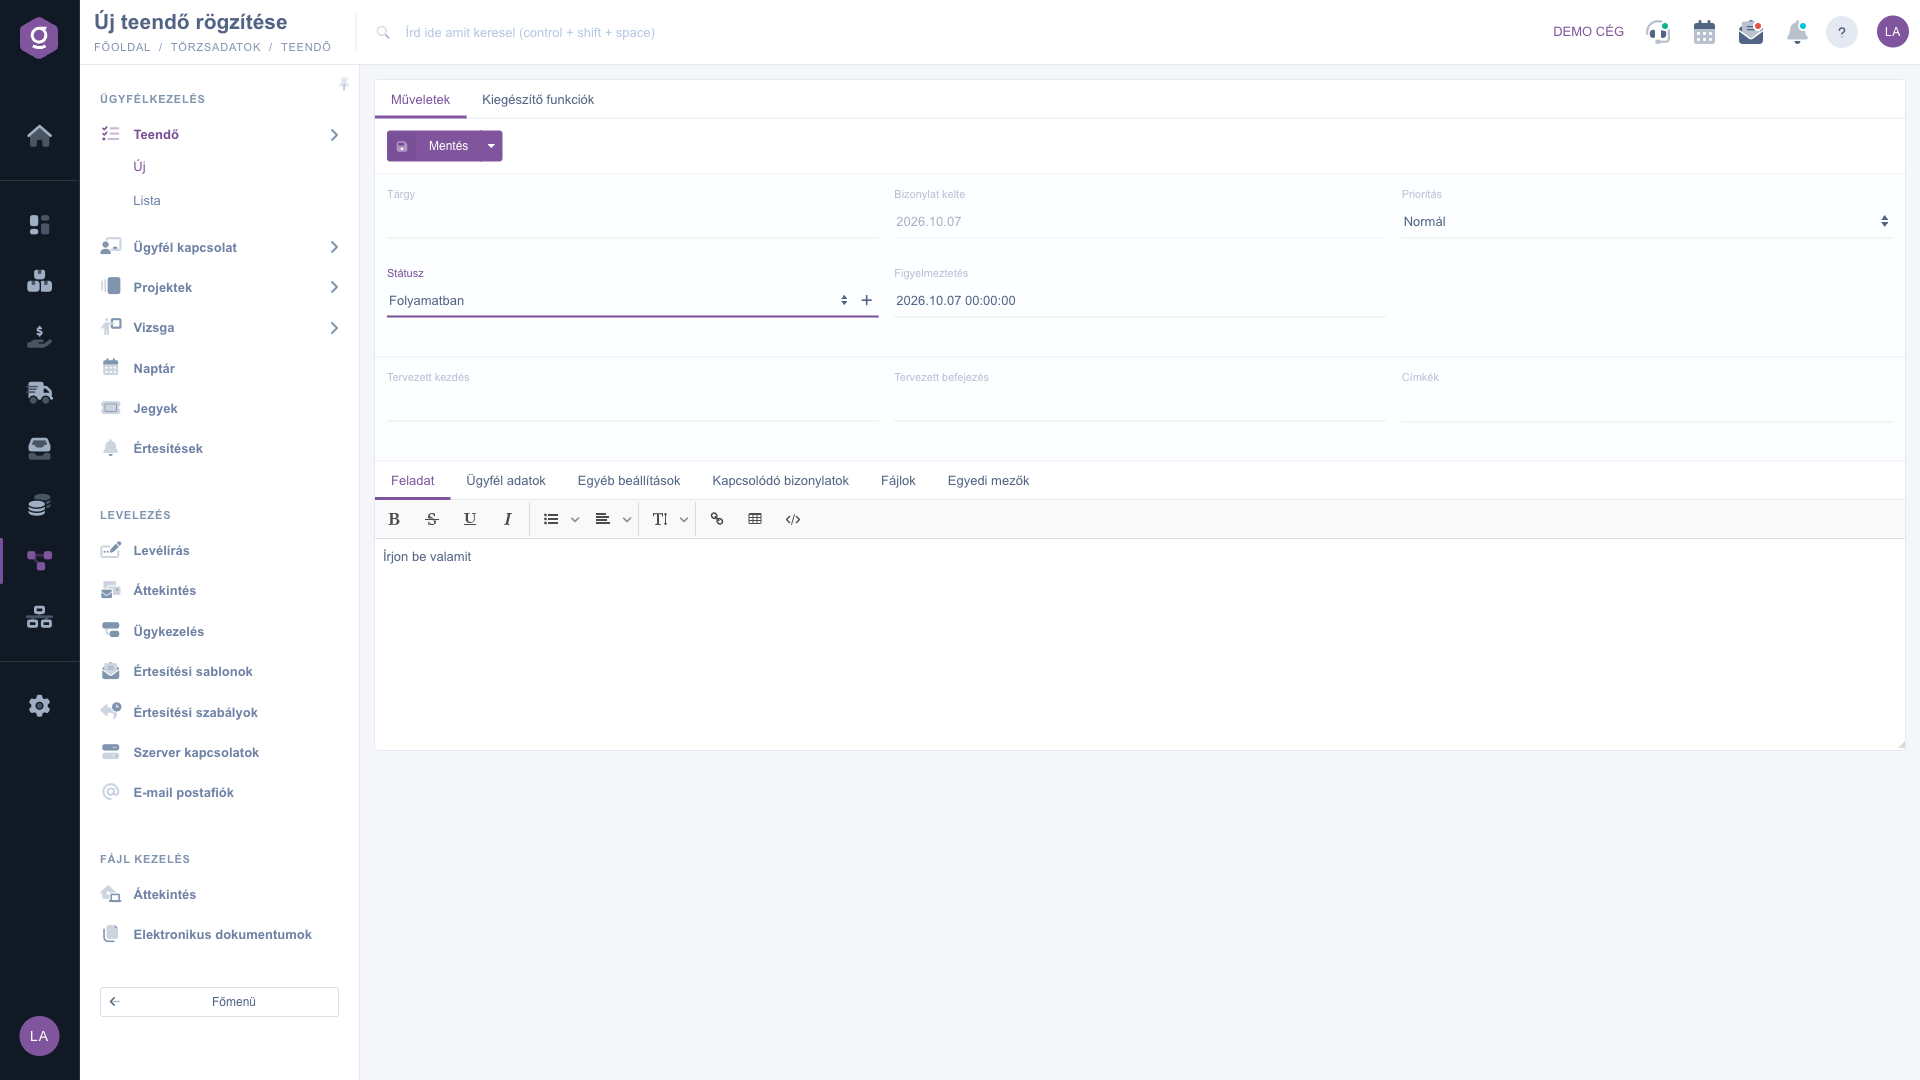
Task sheet – header and Task tab
3. Describing the task (Task tab)
The Task tab contains a rich-text editor. With its toolbar you can insert bold, strikethrough, underlined and italic text, lists, alignment, font size, links and tables, and the source button lets you edit the HTML of the text. Write here what has to be done, which sub-tasks belong to it and what to watch out for.
4. Choosing a partner (Customer data tab)
On the Customer data tab you link the task to a partner. Start typing the partner's name in the Partner company name field and pick one of the suggestions; then, in the Partner contact person list, you can choose one of the selected partner's contacts. The field is required. If the partner does not exist yet, the + button next to the name lets you create one quickly, and its data is filled in on the task automatically. After saving, a summary box on the sheet shows the partner's Company name, Tax number, Contact person, Email address and Phone number, and clicking the company name opens the partner sheet.
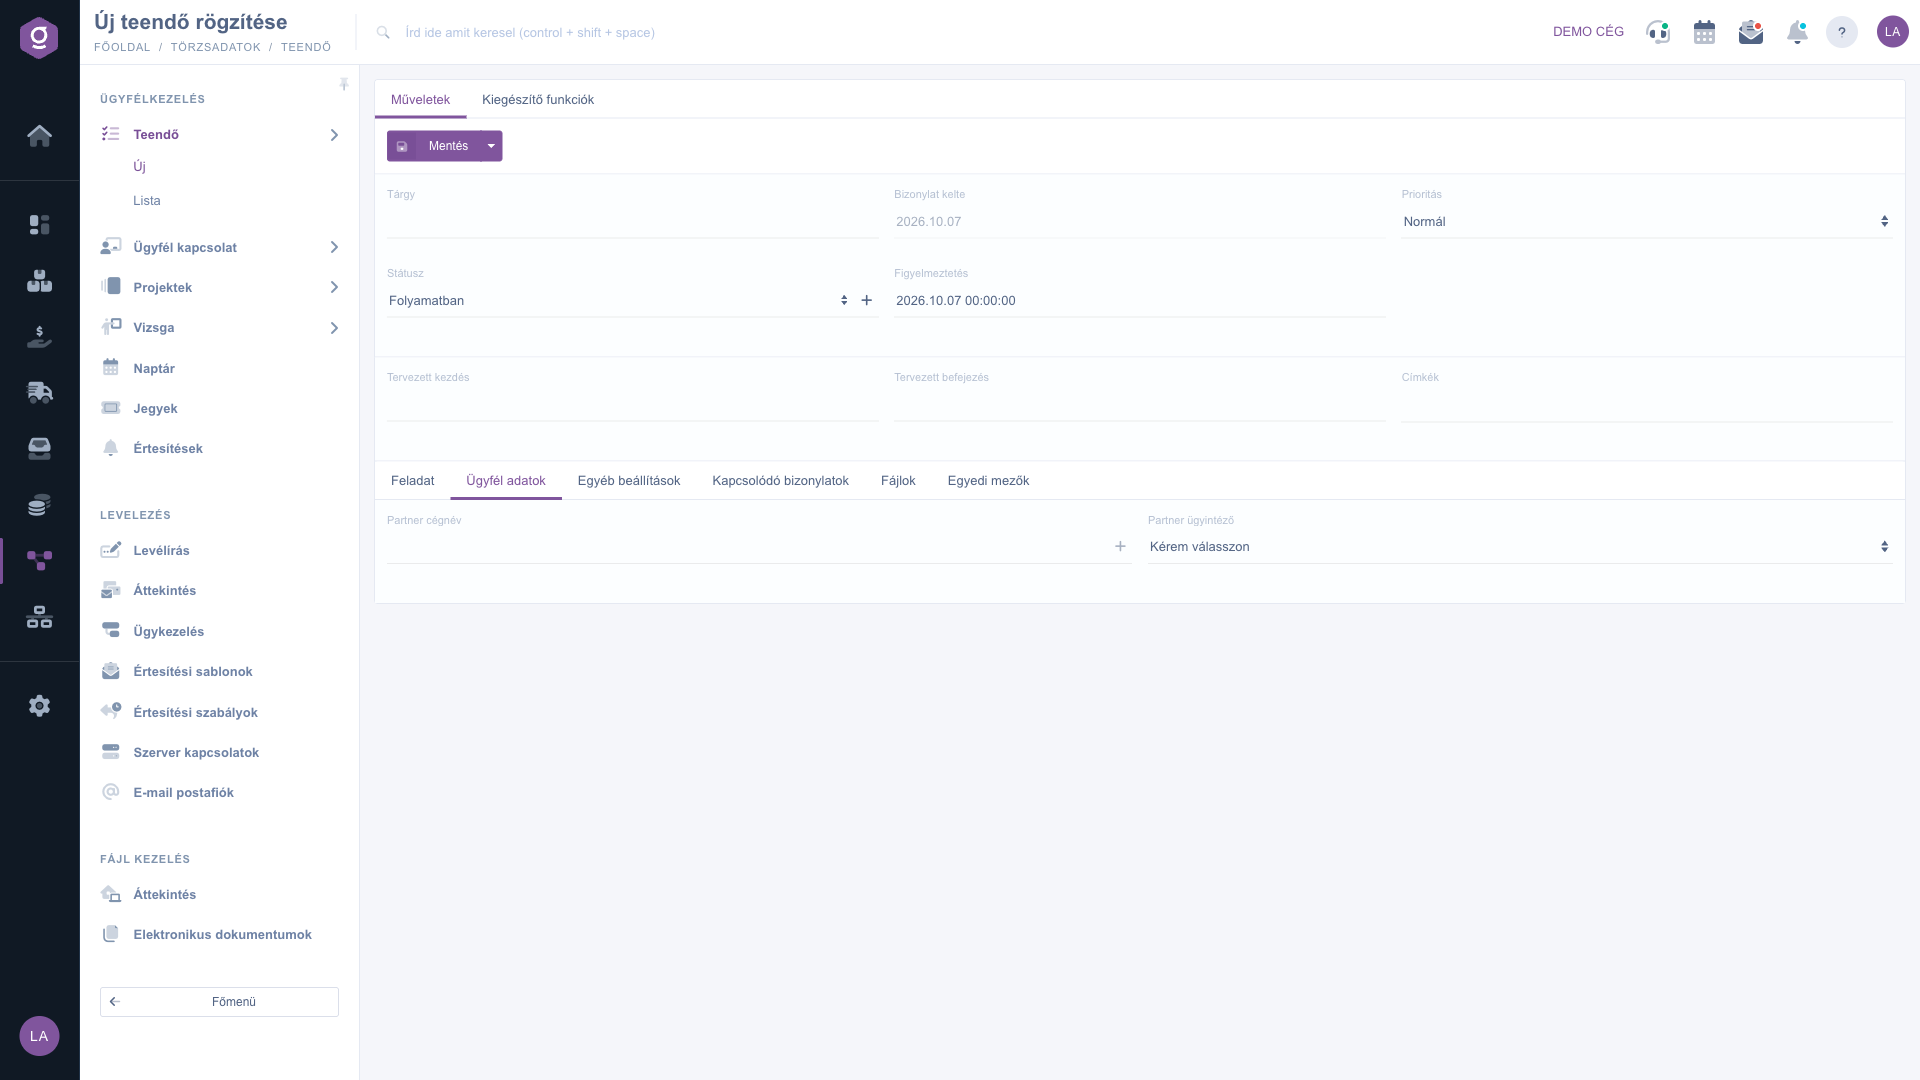
Task sheet – Customer data tab
5. Responsible colleague, type, calendar, board and color (Other settings tab)
On the Other settings tab you set how the task is classified and displayed:
- Responsible colleague: the colleague responsible for the task; you can search for them with the Responsible filter of the list.
- Task type: a type used to group tasks, chosen from the types you have already created.
- Calendar: assigns the task to the selected calendar; choose it if you want to follow the task in a particular calendar.
- Board: decides under which board the task appears in the list, the Kanban and the Gantt view. If you do not choose another one, the default (General) board stays, and the statuses of a board can differ from board to board.
- Custom color (optional): a color picker you can use to highlight the task in your own color.
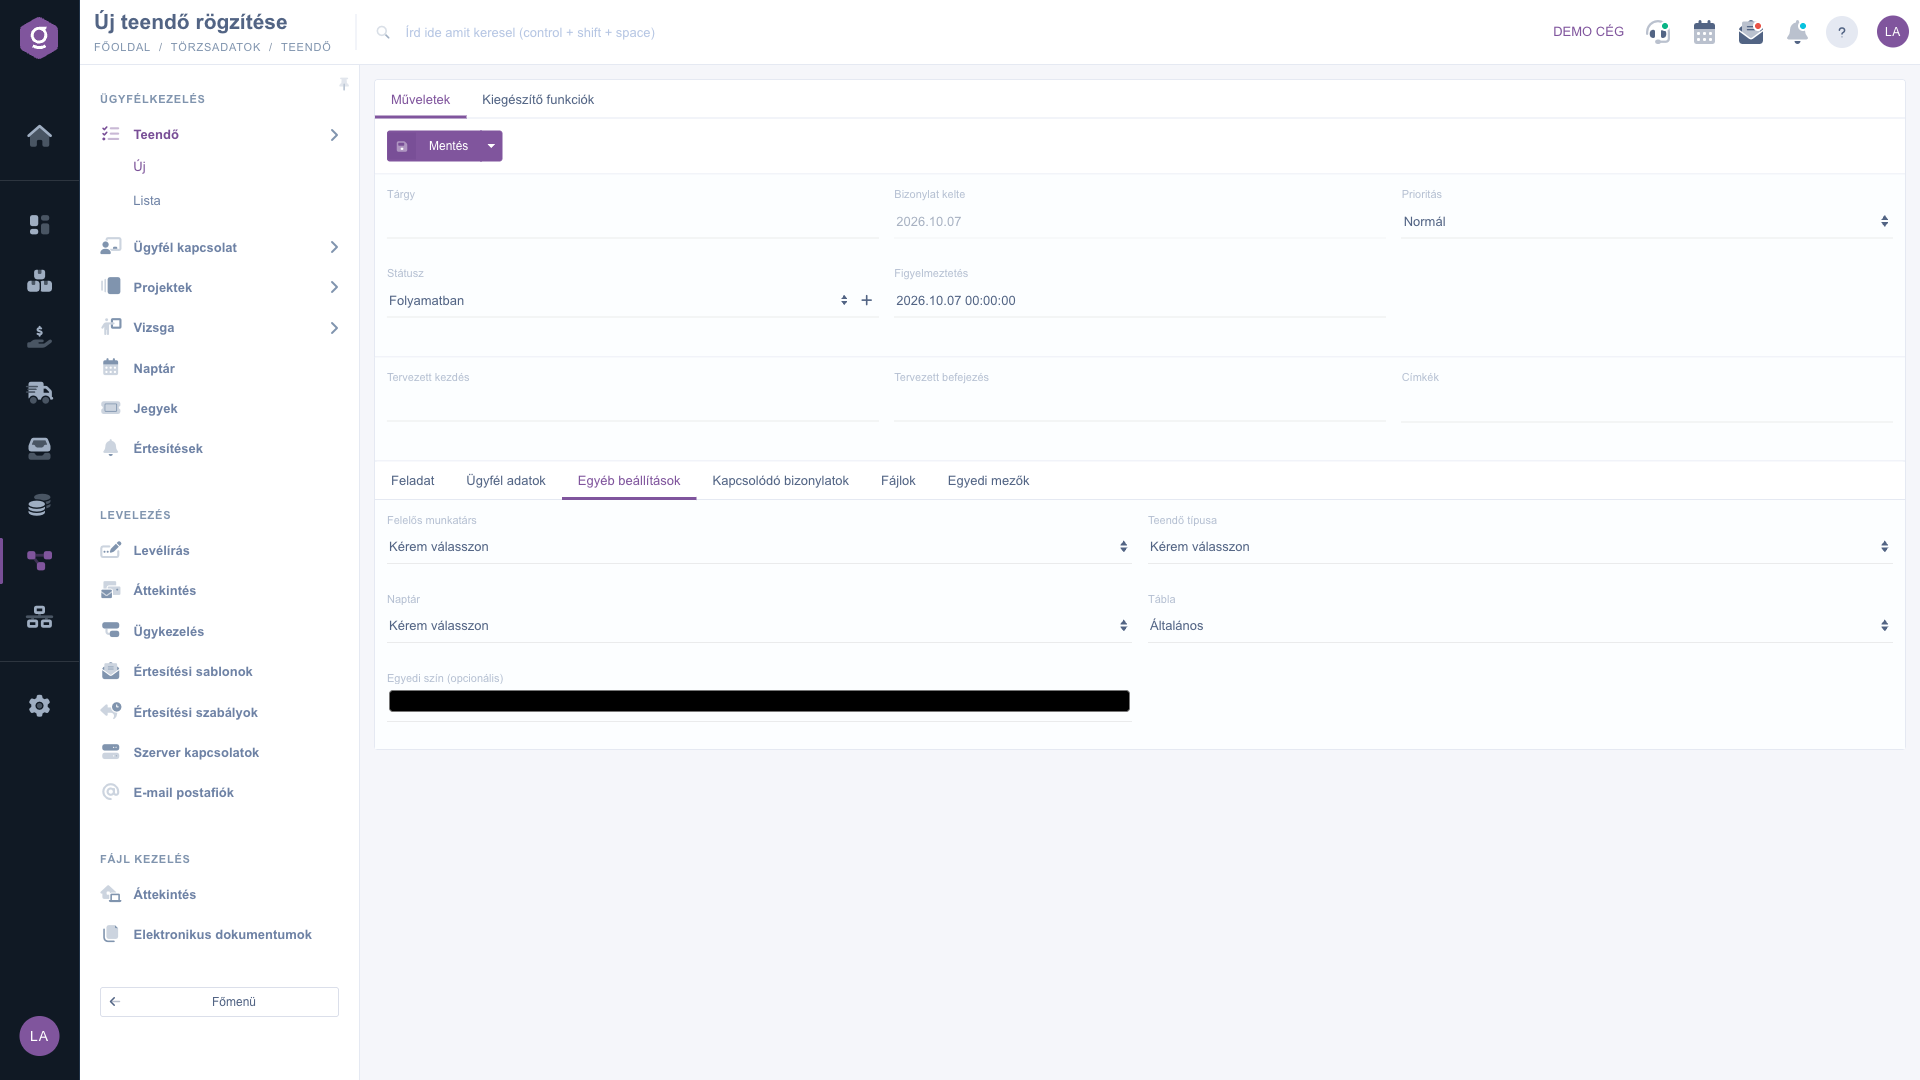
Task sheet – Other settings tab
6. Related documents, Files and Custom fields
- Related documents: a table of the links between the task and other documents (Document number, Document date, Document type, Issuing employee). For a standalone task that is not linked to anything, the list is empty.
- Files: manages the files of the linked document with the New, Open, Delete, Classification and Browse buttons. New and Browse can only be used if the task is linked to another document (for example a project); on a standalone task they appear faded.
- Custom fields: the place for your own extra fields. The New document schema button opens the schema creation in a new window; until you have such a field, the list is empty.
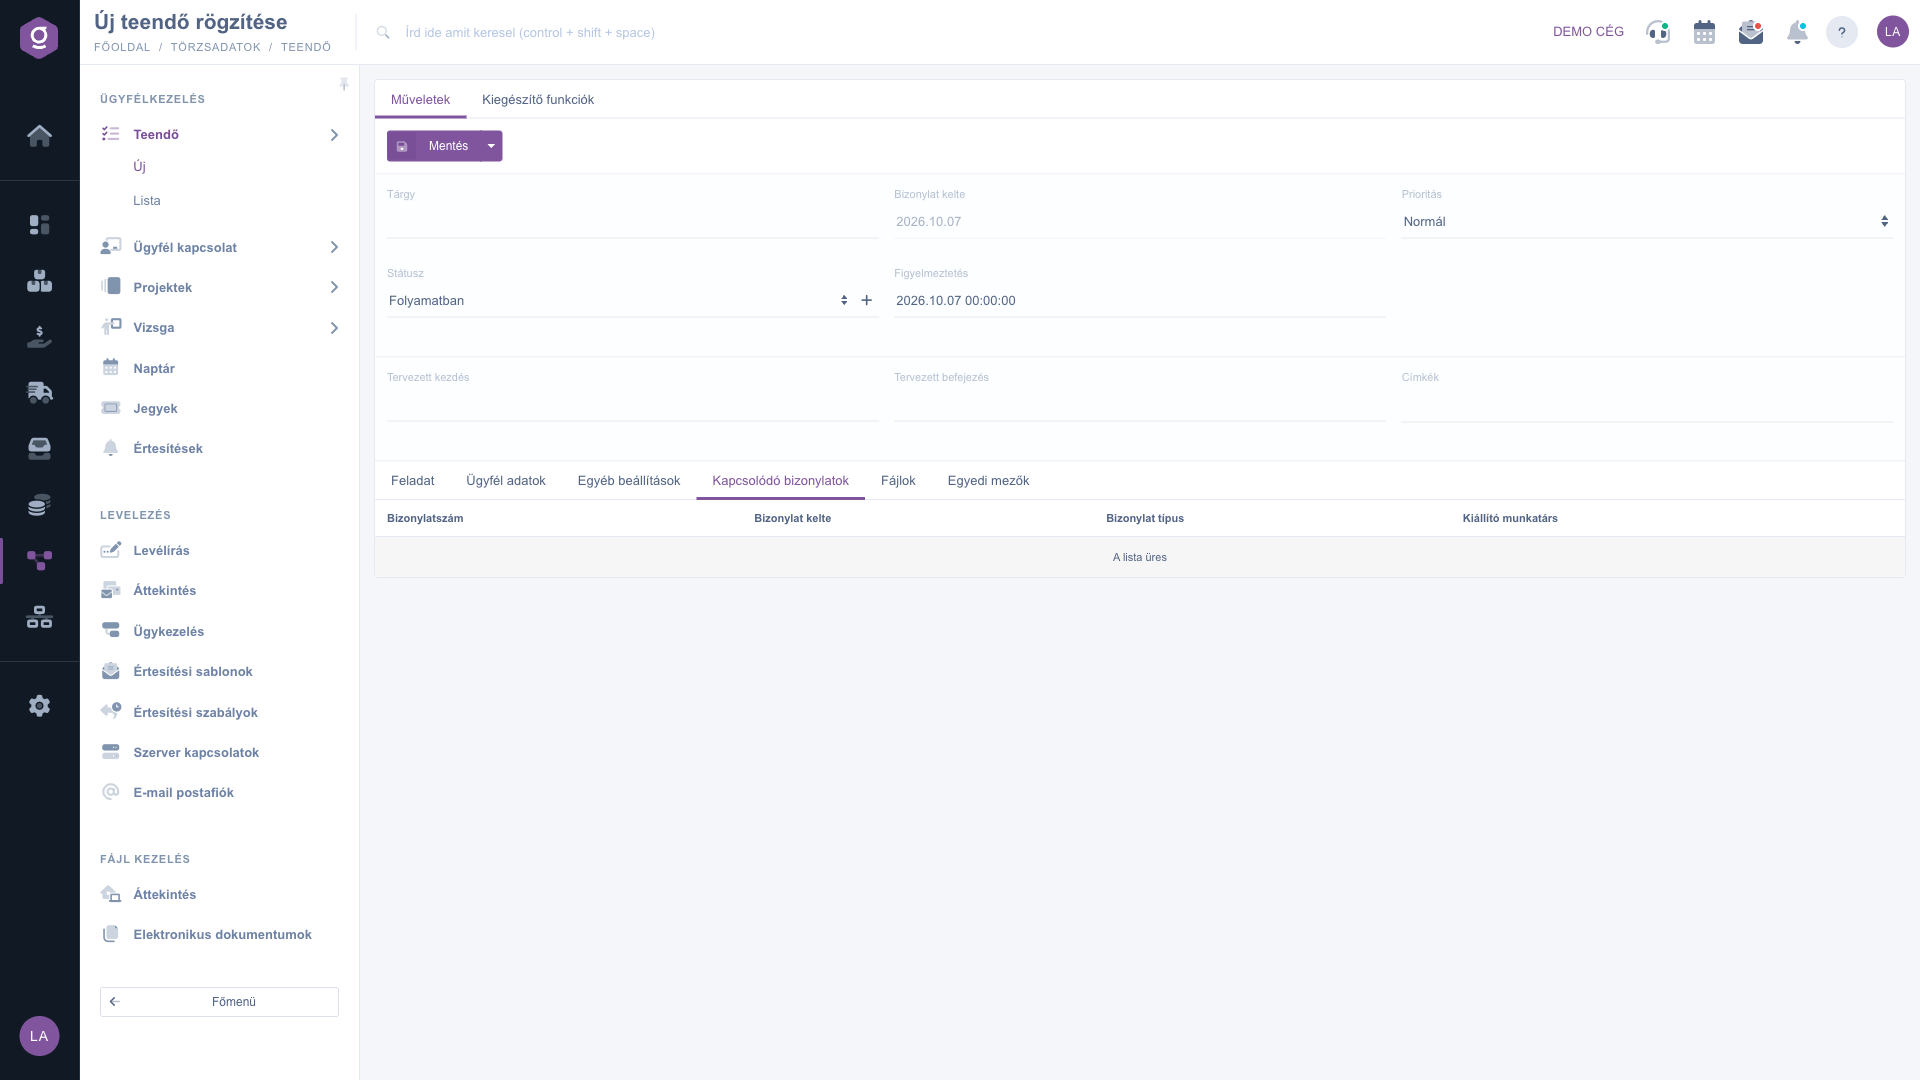
Task sheet – Related documents tab
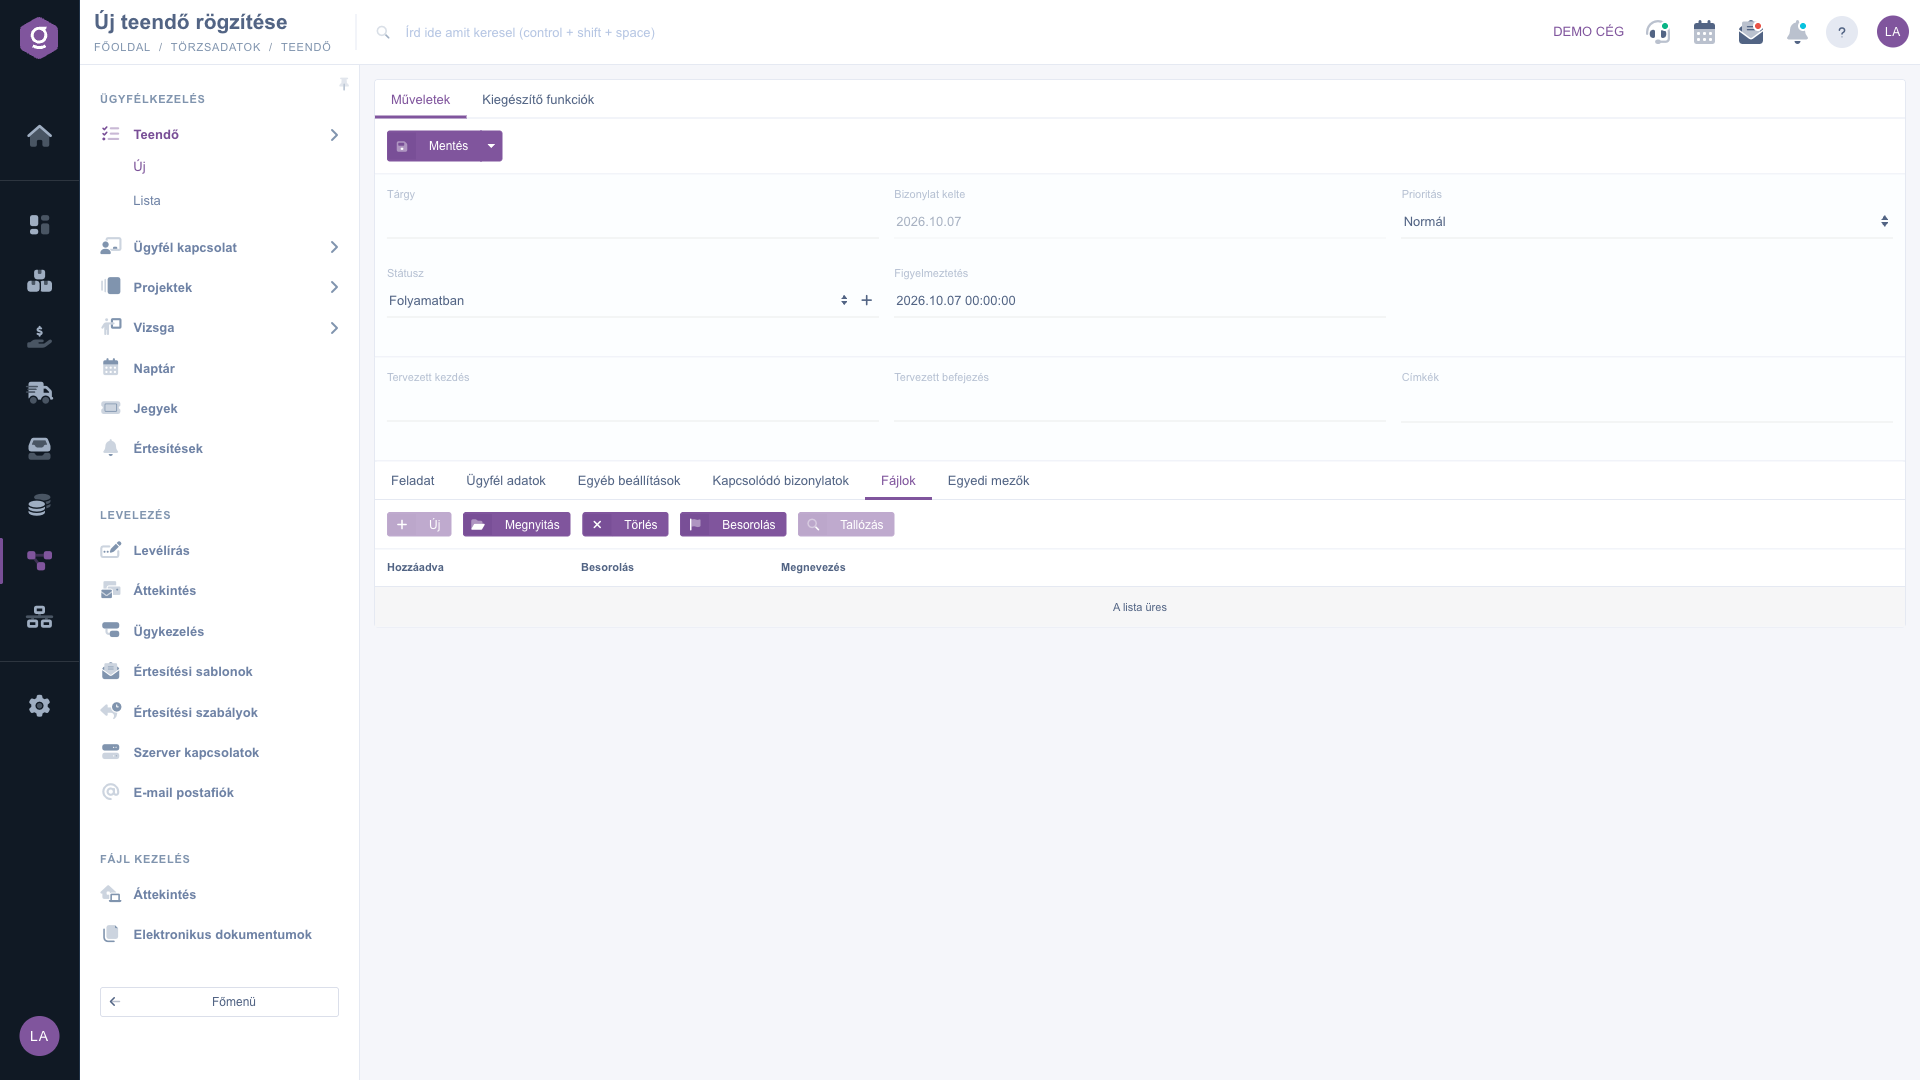
Task sheet – Files tab
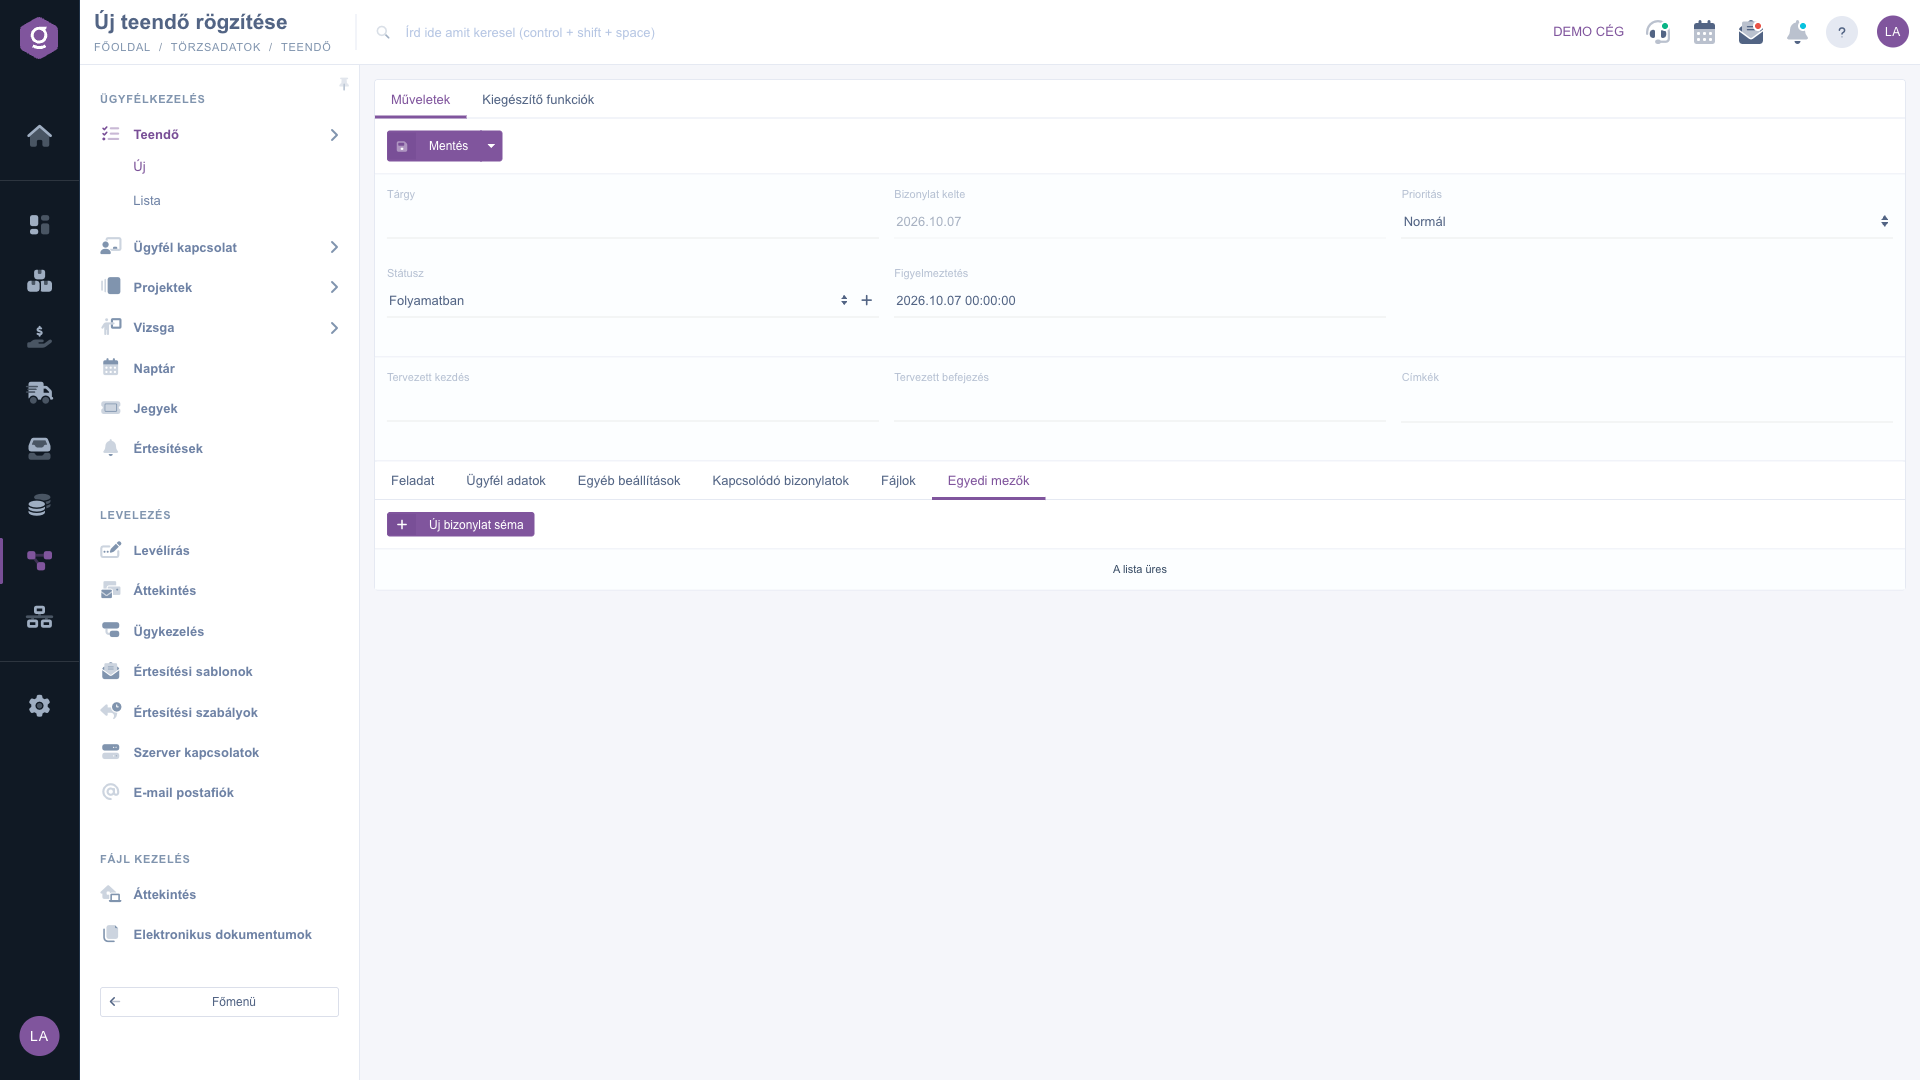
Task sheet – Custom fields tab
7. Saving and additional functions
On the Actions tab, use the Save button to store the task; the arrow next to the button also opens a drop-down with a Save item that does the same. Before saving, the system checks the required fields and tells you which one is missing (this can also be the Partner company name on the Customer data tab, so switch to that tab if needed). On the Additional functions tab, the New partner button opens the creation of a new partner in a new browser tab, so you can keep editing the task without interruption.
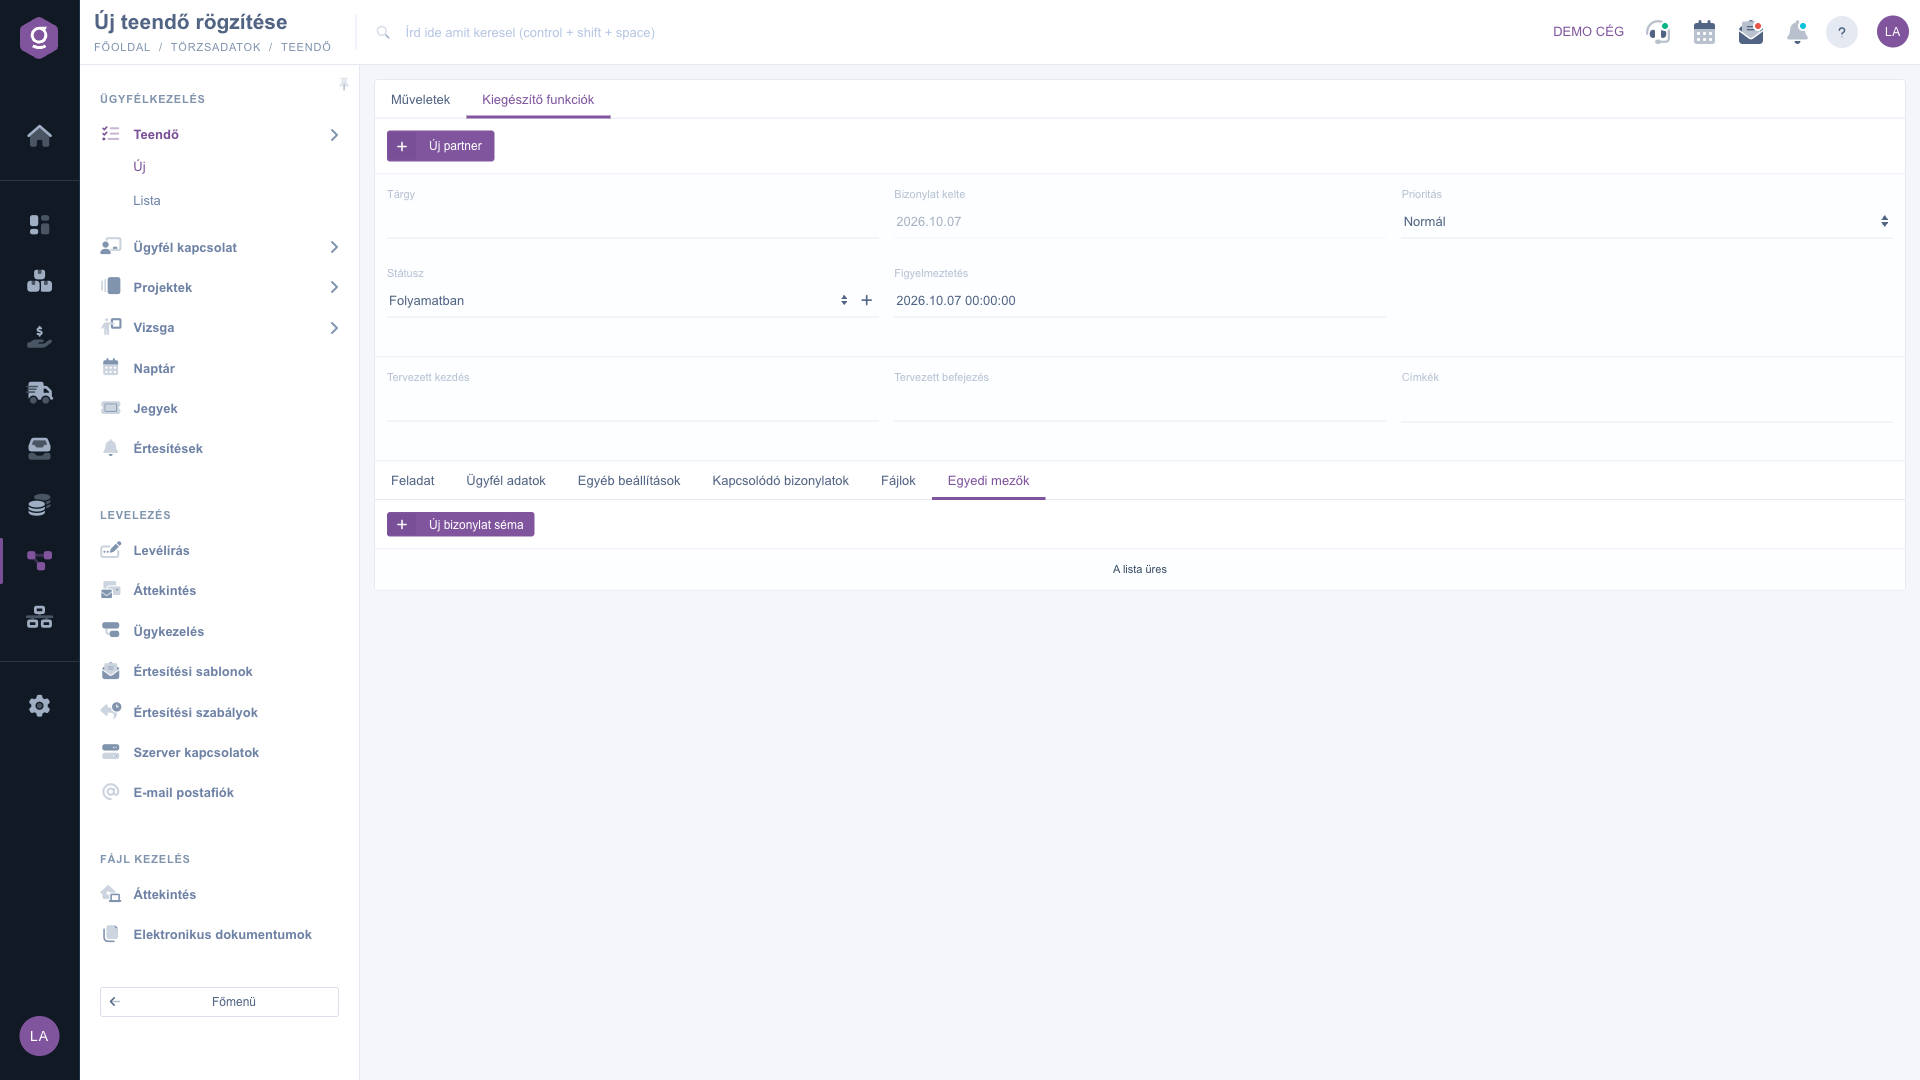
Task sheet – Additional functions tab
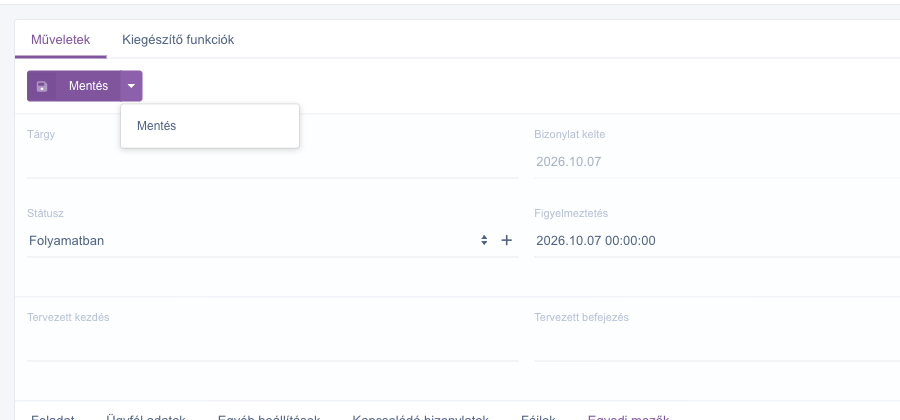
The drop-down menu of the Save button
Tip
If you want to record a task right after a customer call or a quotation request, first enter the customer in the Partner company name field and the essence of the task in the Subject field (for example “Quotation callback”), and set the Reminder to the agreed callback time. The task then alerts you on the right day and hour, and with the Planned completion date it also appears in the right place in the Gantt view.
For listing and searching tasks and for the Kanban and Gantt views, see the
Task list guide; for how to use the calendar, read the
Calendar guide.



