The screenshots in this guide were taken in the Hungarian interface; where a button is visible in an image, its Hungarian label is shown in parentheses.
1. Opening a new warehouse receipt
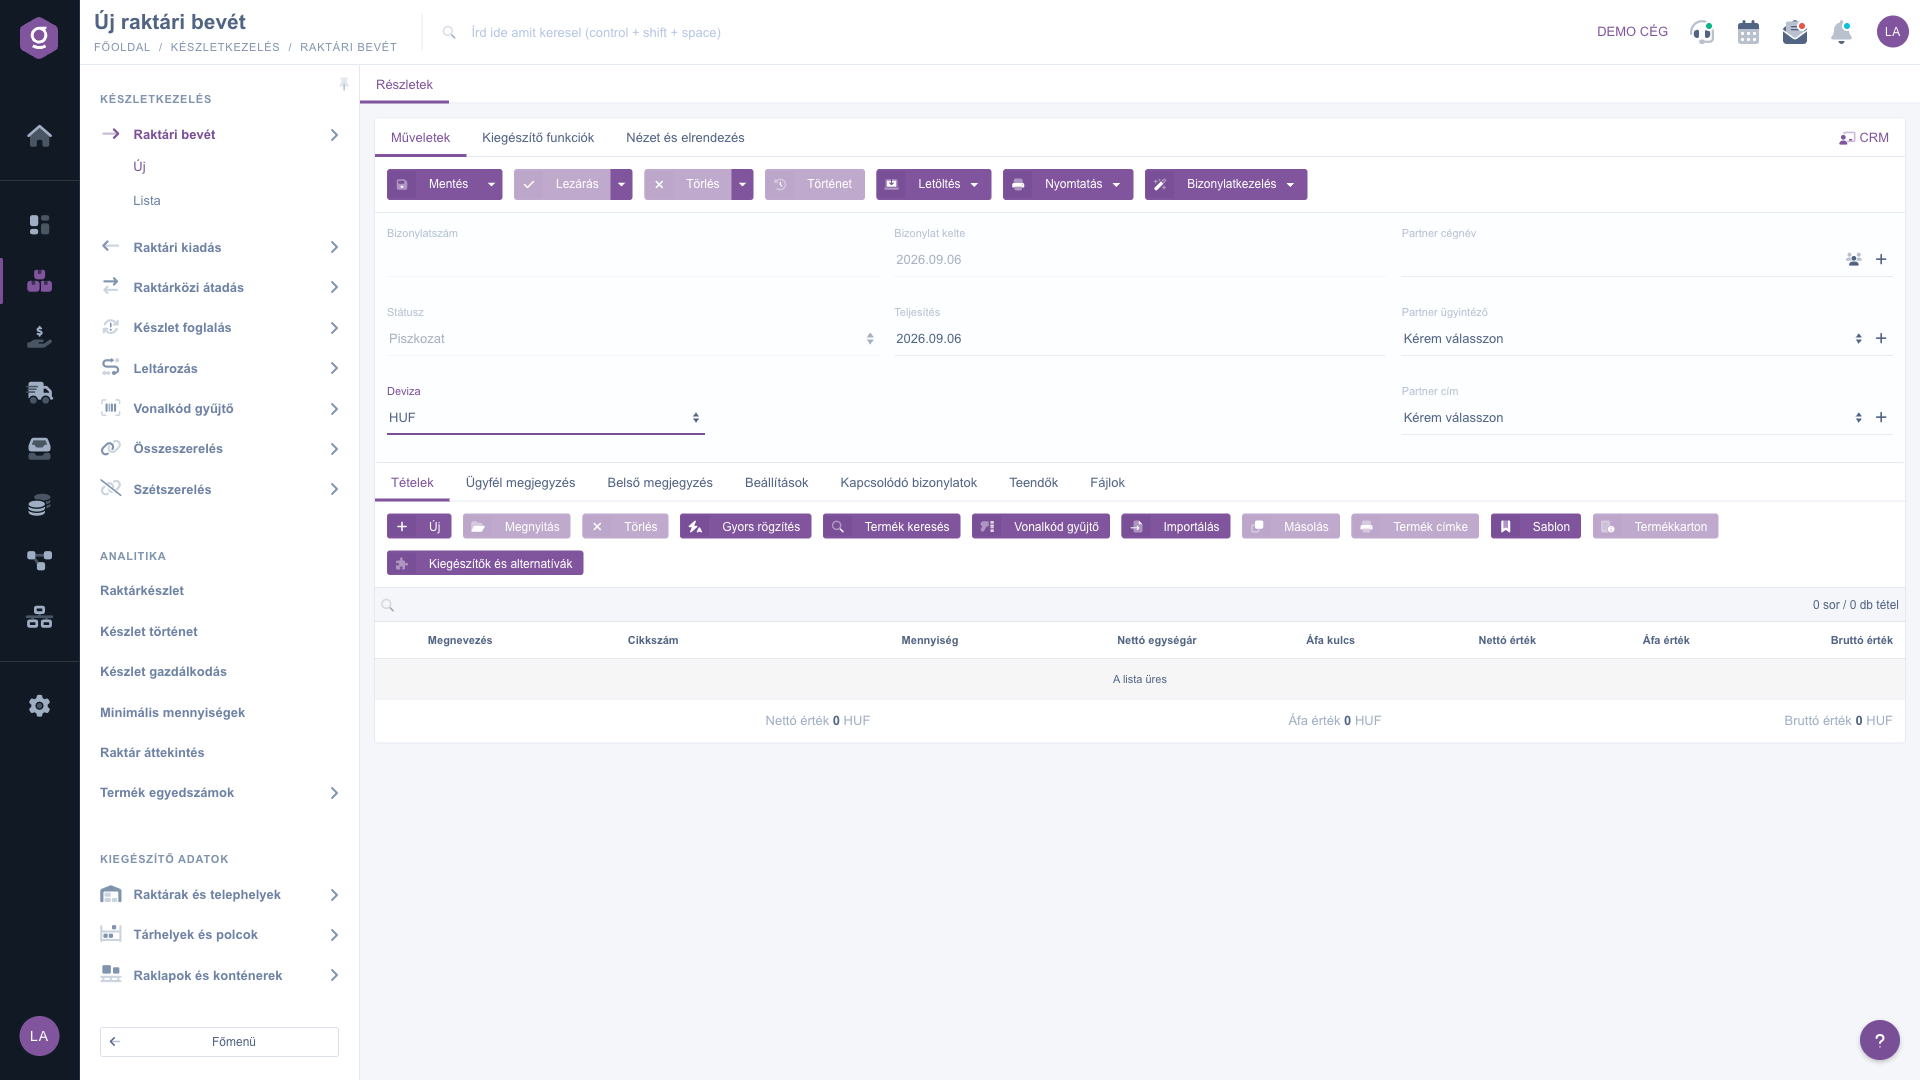
Click Main menu / Stock management / Warehouse receipt / New to open an empty document. You can open an existing document from Main menu / Stock management / Warehouse receipt / List. At the top of the page you find the Actions, Additional functions and View and layout tabs, below them the document header, then the Items tab and the further tabs.
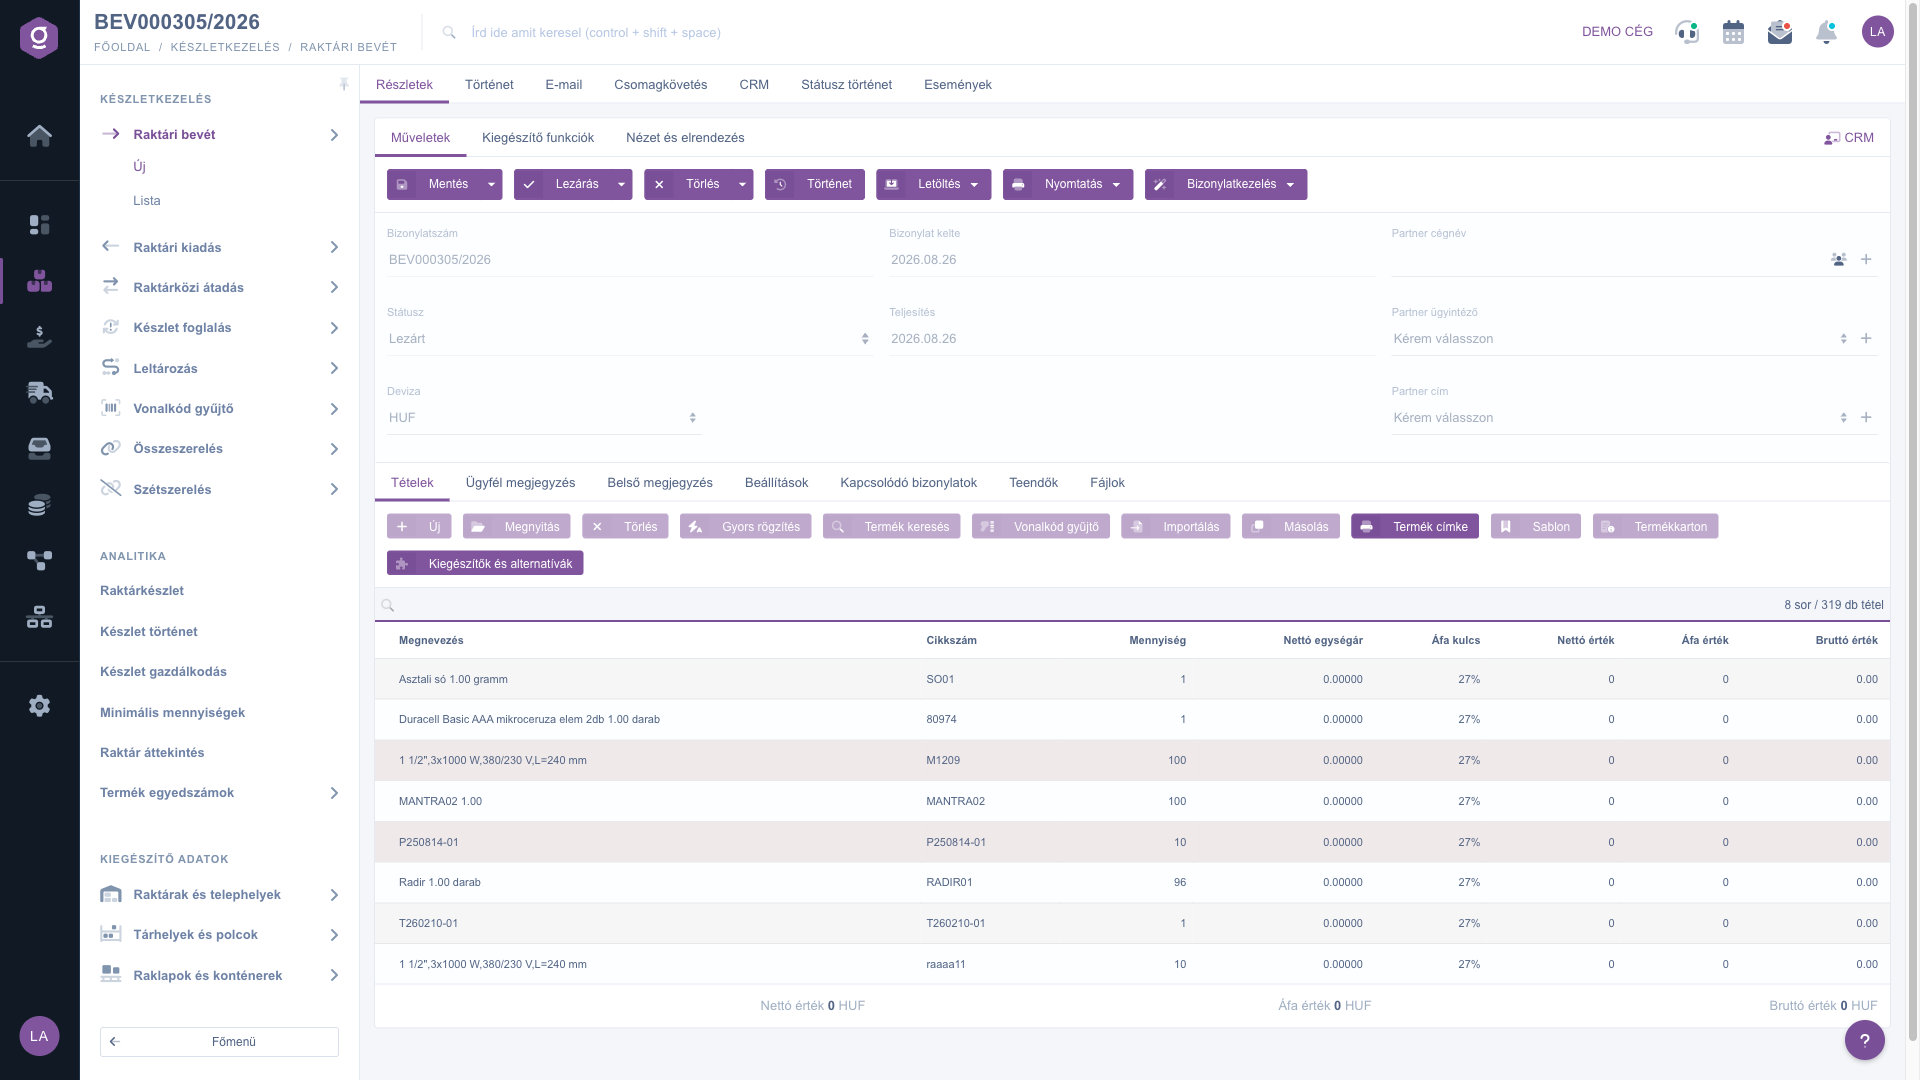
New warehouse receipt – header and Items (Tételek) tab
2. Filling in the header
The header contains the following fields — the required and optional fields are described in detail in the Field descriptions section:
- Document number: empty before saving; the system assigns it automatically on the first save (e.g. BEV000305/2026) and it cannot be edited manually.
- Document date and Performance date: the creation day of the document is filled in automatically; change the Performance date (the day the goods actually arrived) if the shipment did not arrive today.
- Currency (and Exchange rate): the company default currency is preselected. If you receive goods from a foreign supplier in another currency, select it — the Exchange rate field then appears as well.
- Partner company name, Partner contact person, Partner address: select the supplier, then the contact person and the address belonging to it. If the partner does not exist in the system yet, you can create it in place with the icon next to the field, and the partner data of the document is filled in automatically. You can open the partner record with the partner card icon next to it.
For internal movements (for example entering opening stock or a stocktaking correction) the partner is not required.
3. Adding items
You record the content of the document on the Items tab with the buttons above the item table. You can choose from several methods — pick the fastest one for the situation:
- New: opens the item editor window, where you select the product by item number or name and enter the quantity and the price. Choose it when you want to record a single item in detail, with all of its data.
- Quick add: a simplified item window that jumps to the Item number field and reopens immediately after the item is saved. Use it when you have to enter many items one after another and do not want to click the button again after each one.
- Product search: lets you search among the products and pick from the results. Choose it when you do not know the exact item number and only remember the name or a feature of the product.
- Barcode collector: a text box where you type or scan barcodes and quantities line by line, and the system creates all the items at once. The line format is [barcode];[quantity] — if you leave out the quantity, 1 piece is added. It is the fastest method when checking a shipment with a scanner.
- Import: bulk entry of items from an XLSX file. In the window, click the XLSX file schema link to download the expected structure of the file, then upload it once filled in. Choose it when the supplier has already sent the contents of the shipment in a spreadsheet.
On the Properties tab of the item window (New button) you can choose from the following buttons:
- Add: adds the item to the document and closes the window.
- Add and new product: adds the item, then immediately opens a new, empty item window for the next product.
- New product: if the product does not exist in the master data yet, you can create it here without leaving the document.
- Product card and Product search: open the detailed record of the selected product, and search among products, respectively.
- Identifiers: shows the identifiers of the product (e.g. barcode).
On the Warehousing master data tab, selecting the Site is required; here you can also set the Storage locations and shelves (location code) and the Pallets and containers. For products with serial numbers the Serial numbers tab is available, and the Accounting tab holds the data needed for bookkeeping.
Adding an item – Properties (Tulajdonságok) tab
The other buttons above the table: Open edits the selected item, Delete removes it, Cloning duplicates it, Product label prints a label, Template loads a saved item template, Product card opens the record of the selected product, and Add-ons and alternatives shows the accessory and substitute products linked to the product. These buttons can only be used when an item is selected (and for a document in Draft status).
4. Comments, settings and attachments
Besides the Items tab there are further tabs:
- Customer comment: text addressed to the partner that also appears on the printed or downloaded document. You can also pick a saved text template from the drop-down at the top of the tab.
- Internal comment: a note visible only inside the company; it can be loaded from a template as well.
- Settings: here you set the Billing address (which company address appears on the document — required) and the Project, Job number and Department number classification. If they do not exist yet, you can create them in place with the icon next to the field.
- Related documents: the documents this one was created from, or that were created from it; the icon at the end of the row opens them directly.
- Tasks: the list of tasks recorded for the document, with date, subject, comment and the colleague who created it.
- Files: management of documents attached to the document (e.g. a scanned delivery note): upload a New file, Open, Delete, set the Classification, or use Browse among the files already uploaded.
- Custom fields: the company's own additional fields defined for the document.
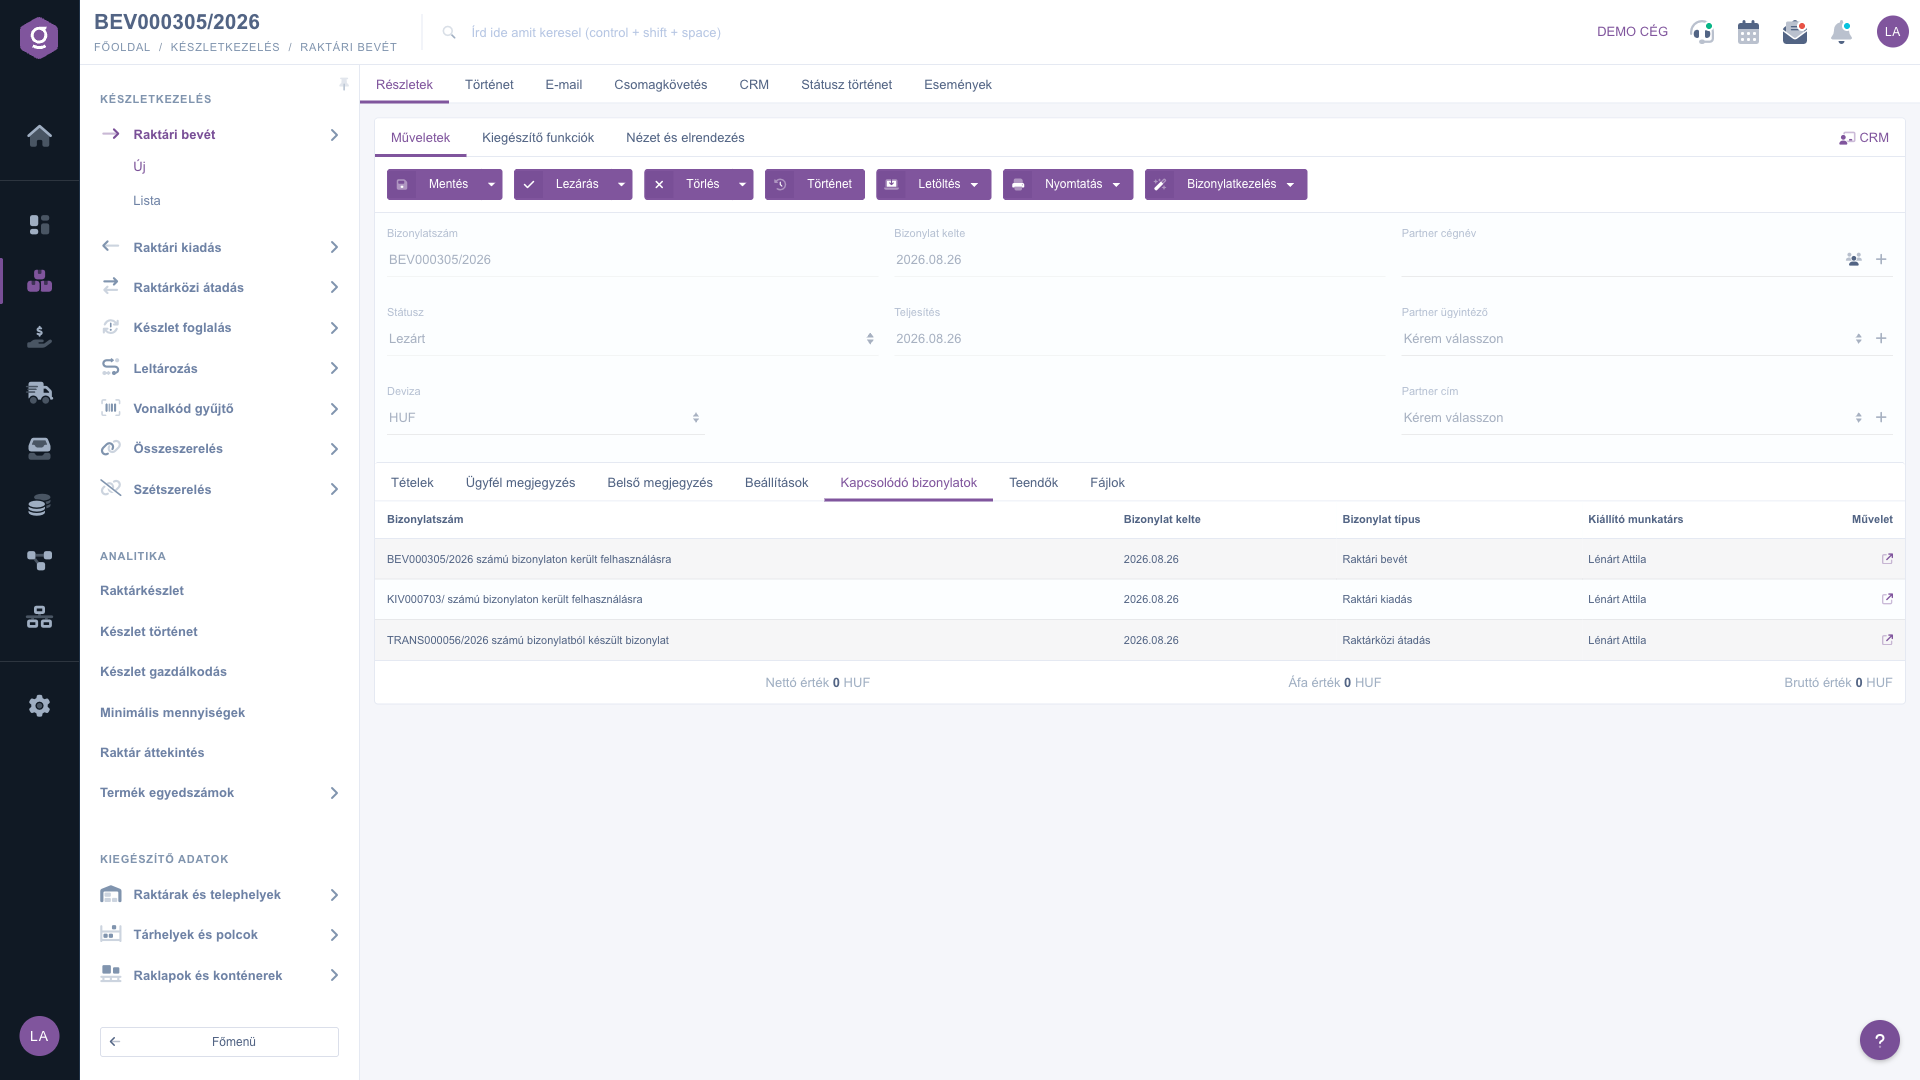
Related documents (Kapcsolódó bizonylatok) tab
5. Saving, closing and deleting
The buttons that control the life cycle of the document are on the Actions tab:
- Save: the data is recorded, but the document stays Draft and can still be edited. In the drop-down of the button, Save and close saves and closes the document in one step.
- Close: finalises the document — after that it can no longer be modified. It is available only for documents in Draft status. From the drop-down, Close and print or Close and download produce the printout right after closing.
- Delete: the document moves to a deleted or cancelled status and cannot be restored. You can only delete documents in Draft or Closed status, and if the serial numbers of the document items are already in use, the deletion cannot be carried out. The Delete and copy option in the drop-down also creates a copy next to the deletion — if you entered the document with wrong data, you can start over in one step.
- History: shows the history of the document.
6. Download, print and document management
- Download: the document can be downloaded as CSV, XLSX and PDF, and you can also view it as a PDF preview without downloading.
- Print: printing the Document prints the whole document, Product label prints the labels of the items.
- Document management: you can create a new, related document from the document — an Invoice, an Incoming invoice or a Delivery note — or use Cloning to start a new receipt based on the data of the document. The new document also appears on the Related documents tab.
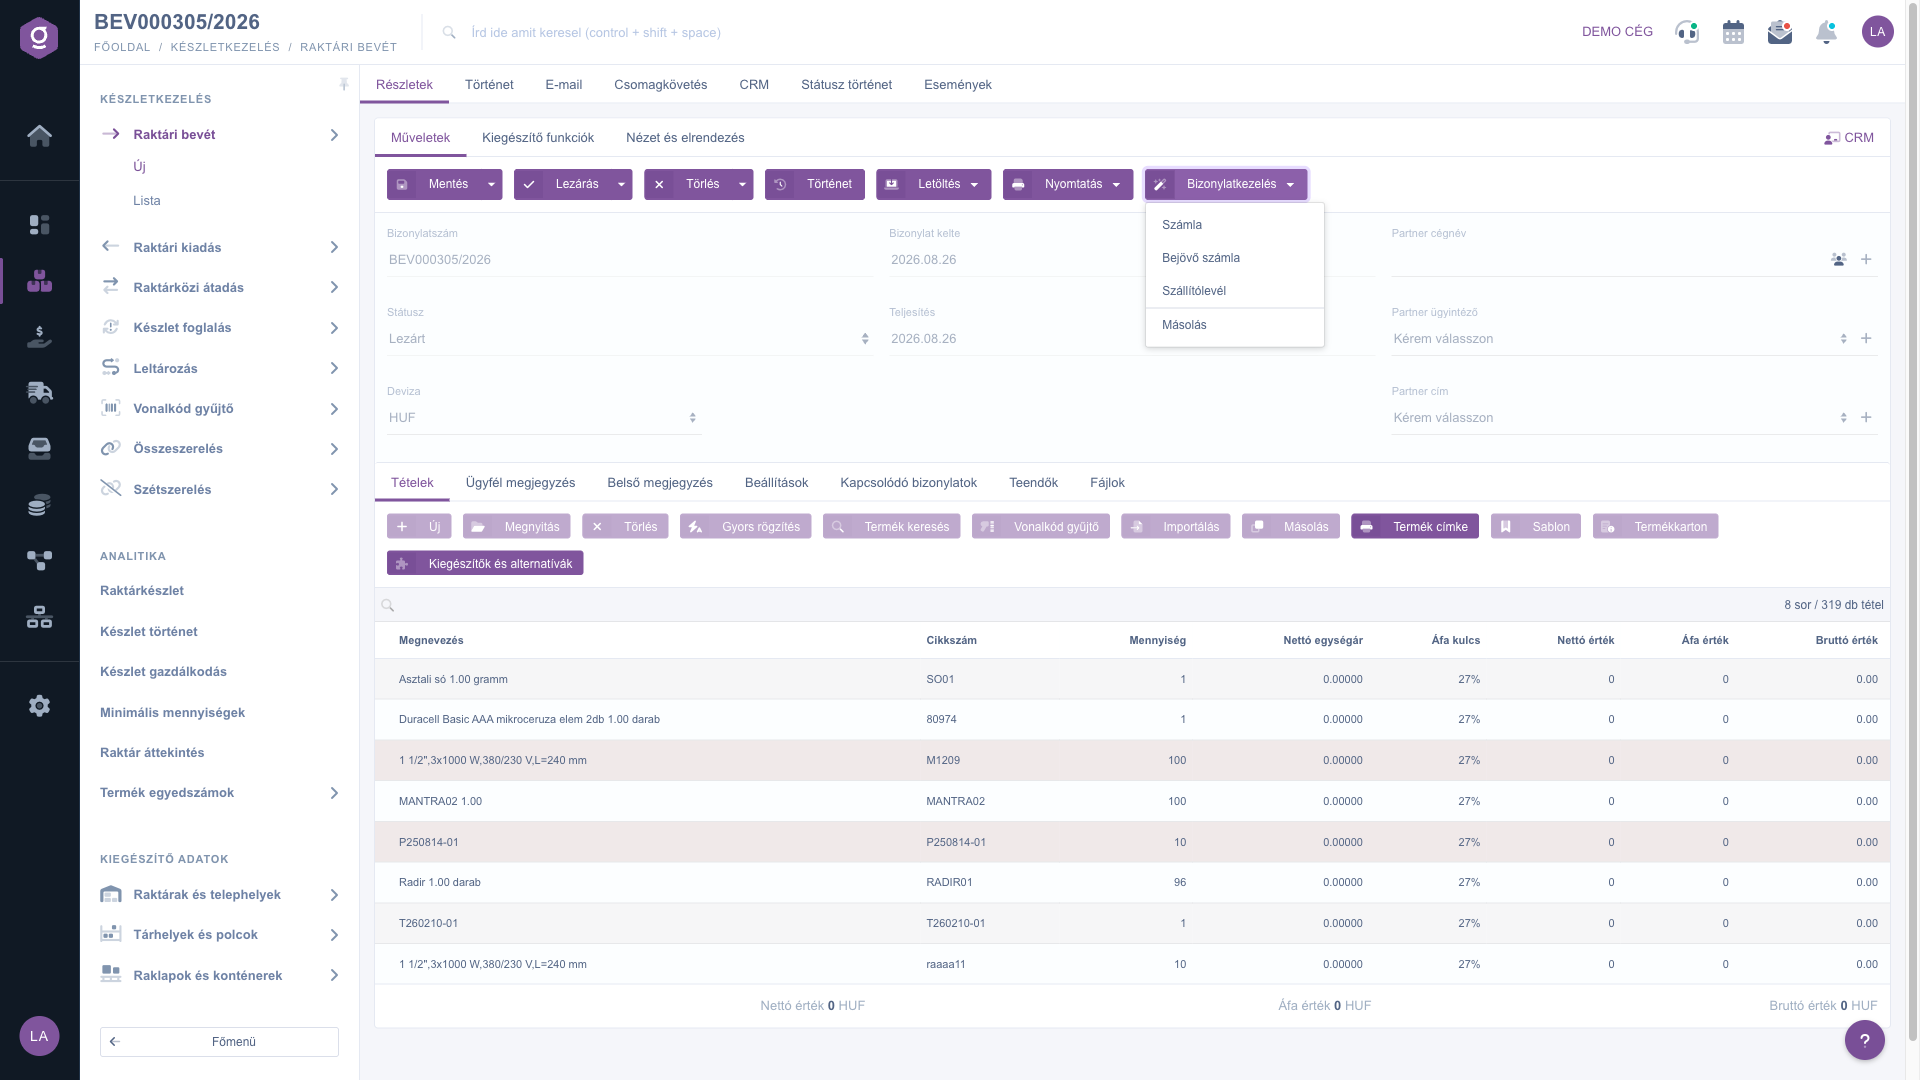
Document management (Bizonylatkezelés) – creating a related document from a closed document
7. Additional functions and customising the view
On the Additional functions tab you find extra options for daily work: viewing the Sent emails, sending a New email (through an external or the built-in internal mailer), creating a New product or a New partner, creating a New task for the document, and opening the partner's Partner card.
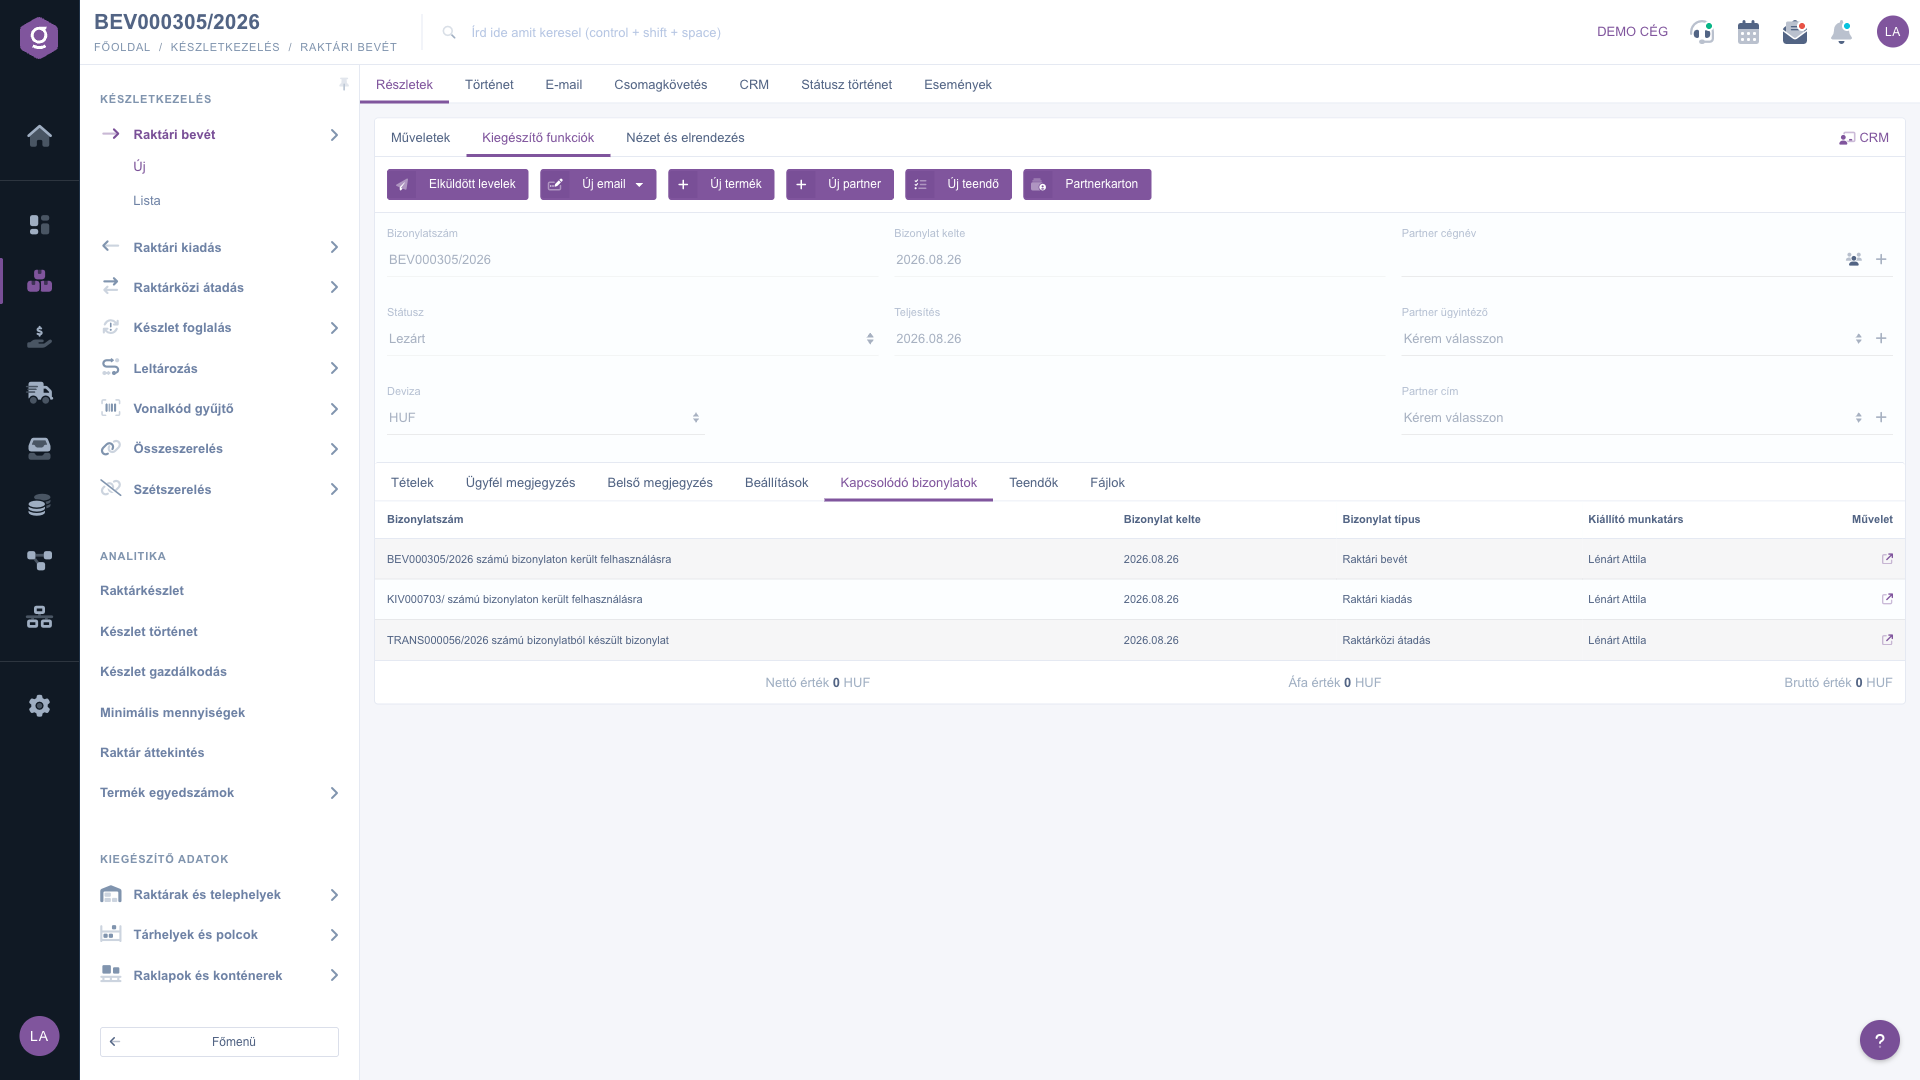
Additional functions (Kiegészítő funkciók) tab
On the View and layout tab, the Interface and behavior button customises how the record is displayed, and the Columns button customises the visible columns of the item table. These settings are saved for your user, so they are kept the next time you sign in.
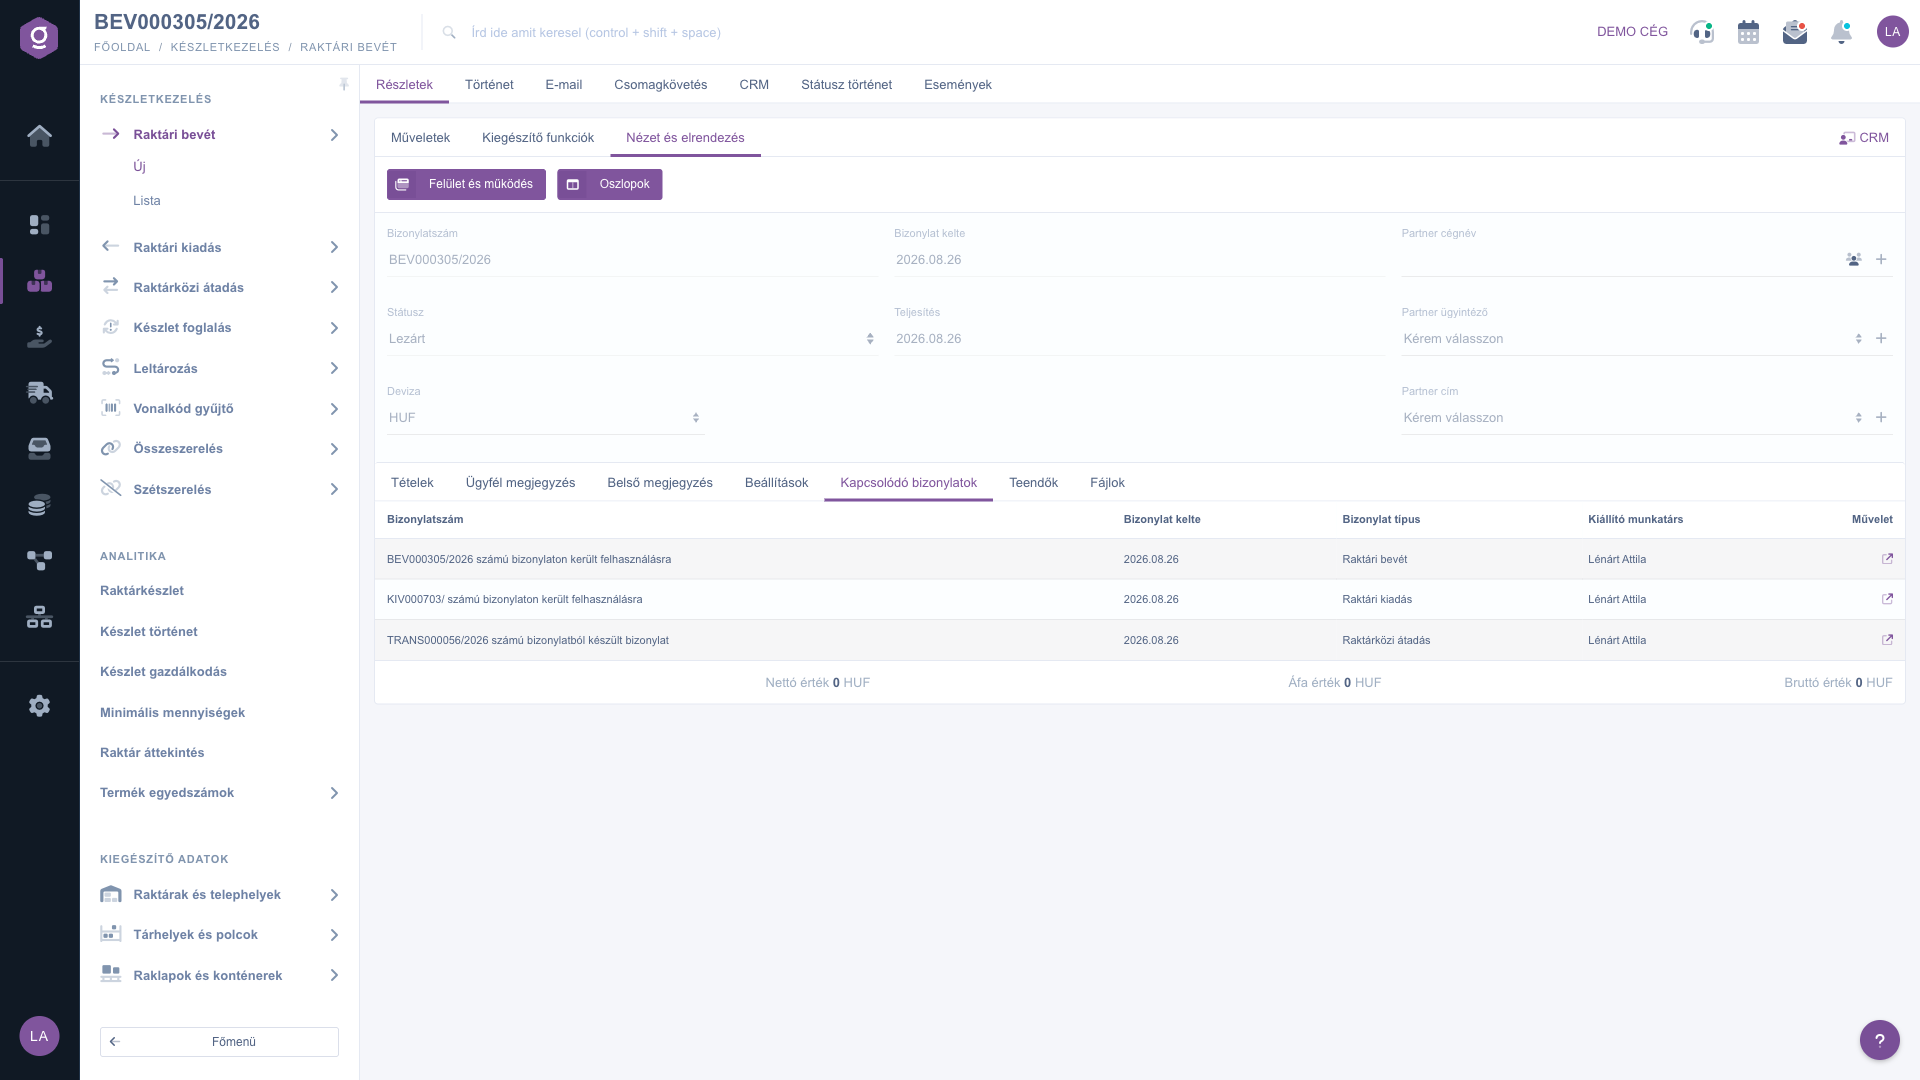
View and layout (Nézet és elrendezés) tab
Tip
If the supplier's delivery note lists many items and the products have barcodes, do not enter them one by one: open the Barcode collector window and type or scan the barcodes and quantities line by line (e.g. 5999000000012;24). With one click all items are added to the document and you only have to check the prices.
If you want to list, search or manage several existing receipts at once, see the
Warehouse receipt list guide.



