On the Remote printers page you add the network printers to which you can print directly from the data stored in the cloud. For each printer you enter its address and type.
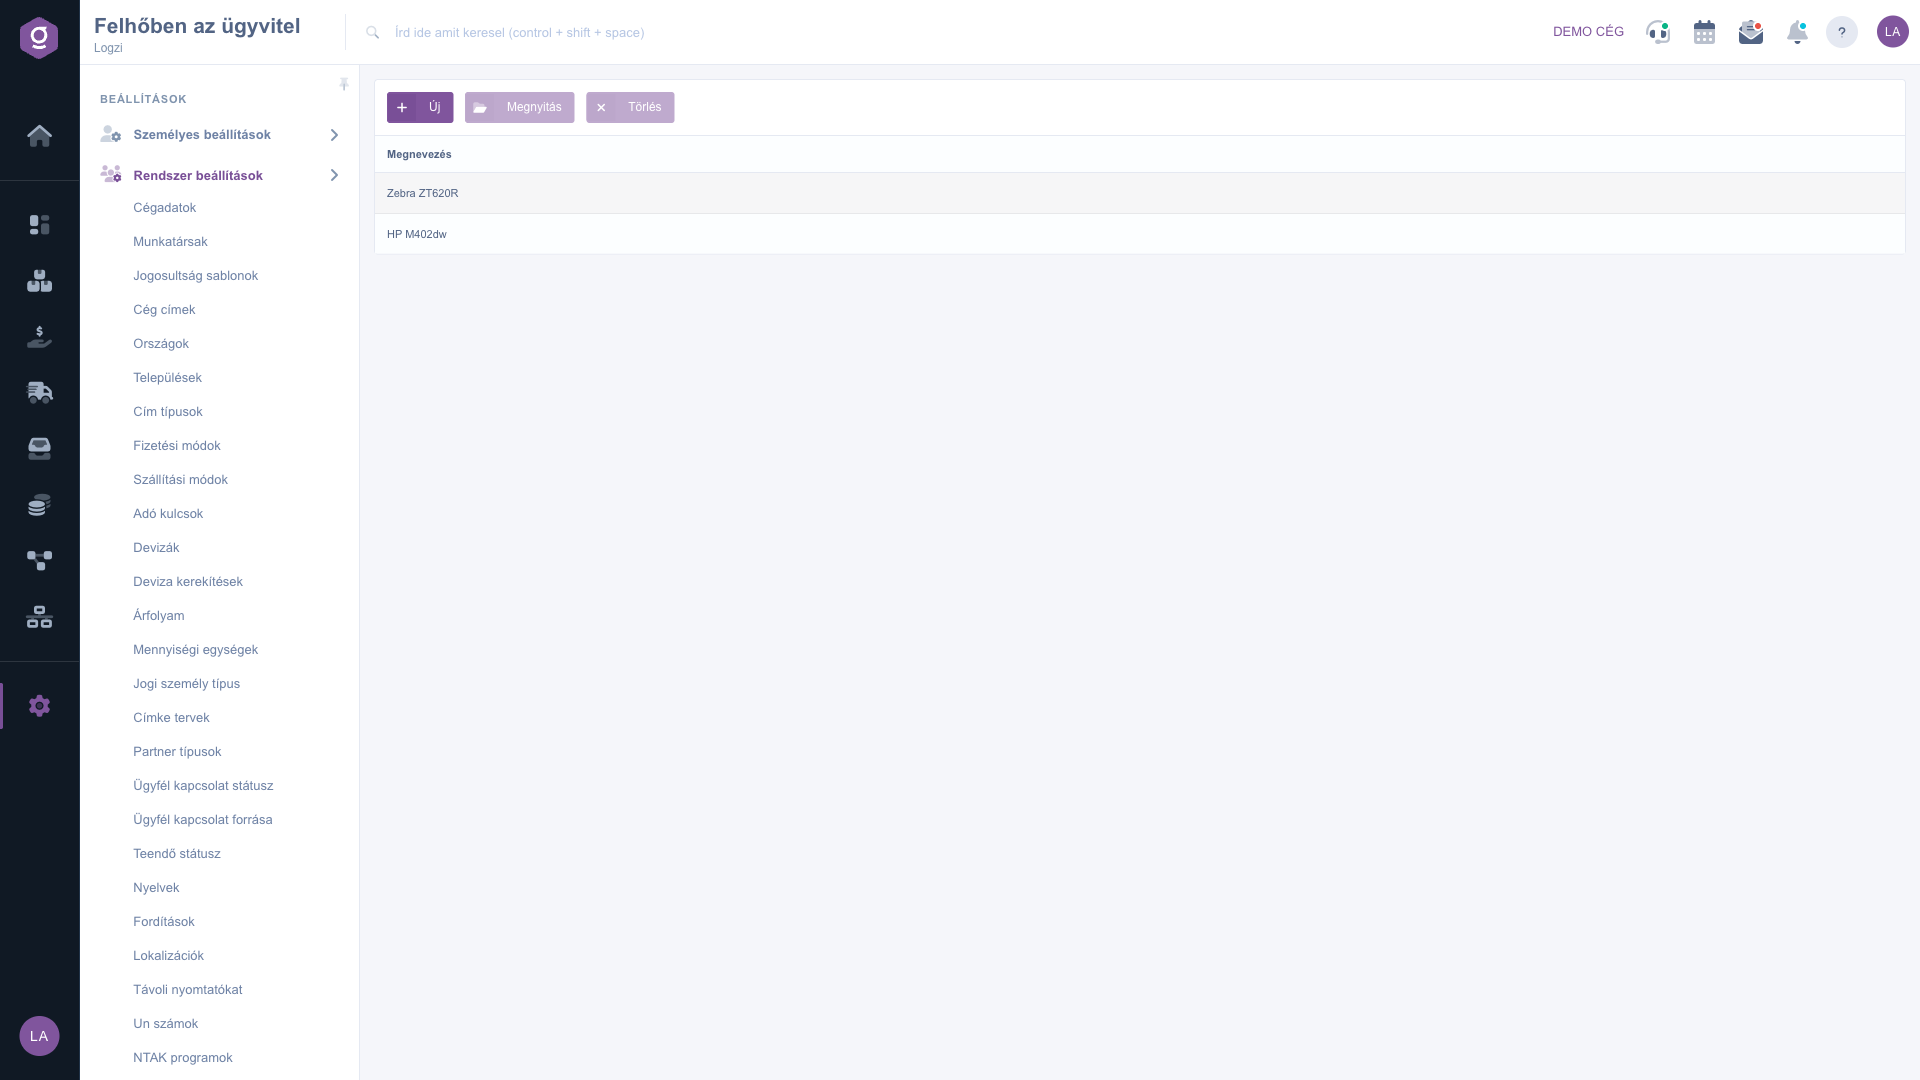
Click Main menu / Settings / System settings / Remote printers. At the top you see the New, Open and Delete buttons, below them the list with the Name column of the printers. Click a row to select the printer. The screenshots were taken in the Hungarian interface.
Click New, or select a row and click Open. On the Actions tab of the window that opens, below the Save and Close buttons, enter the Name, Host, Port and URI fields and choose the Printer type (required). At the bottom of the window you find a guide to the network setup. Finally click Save.
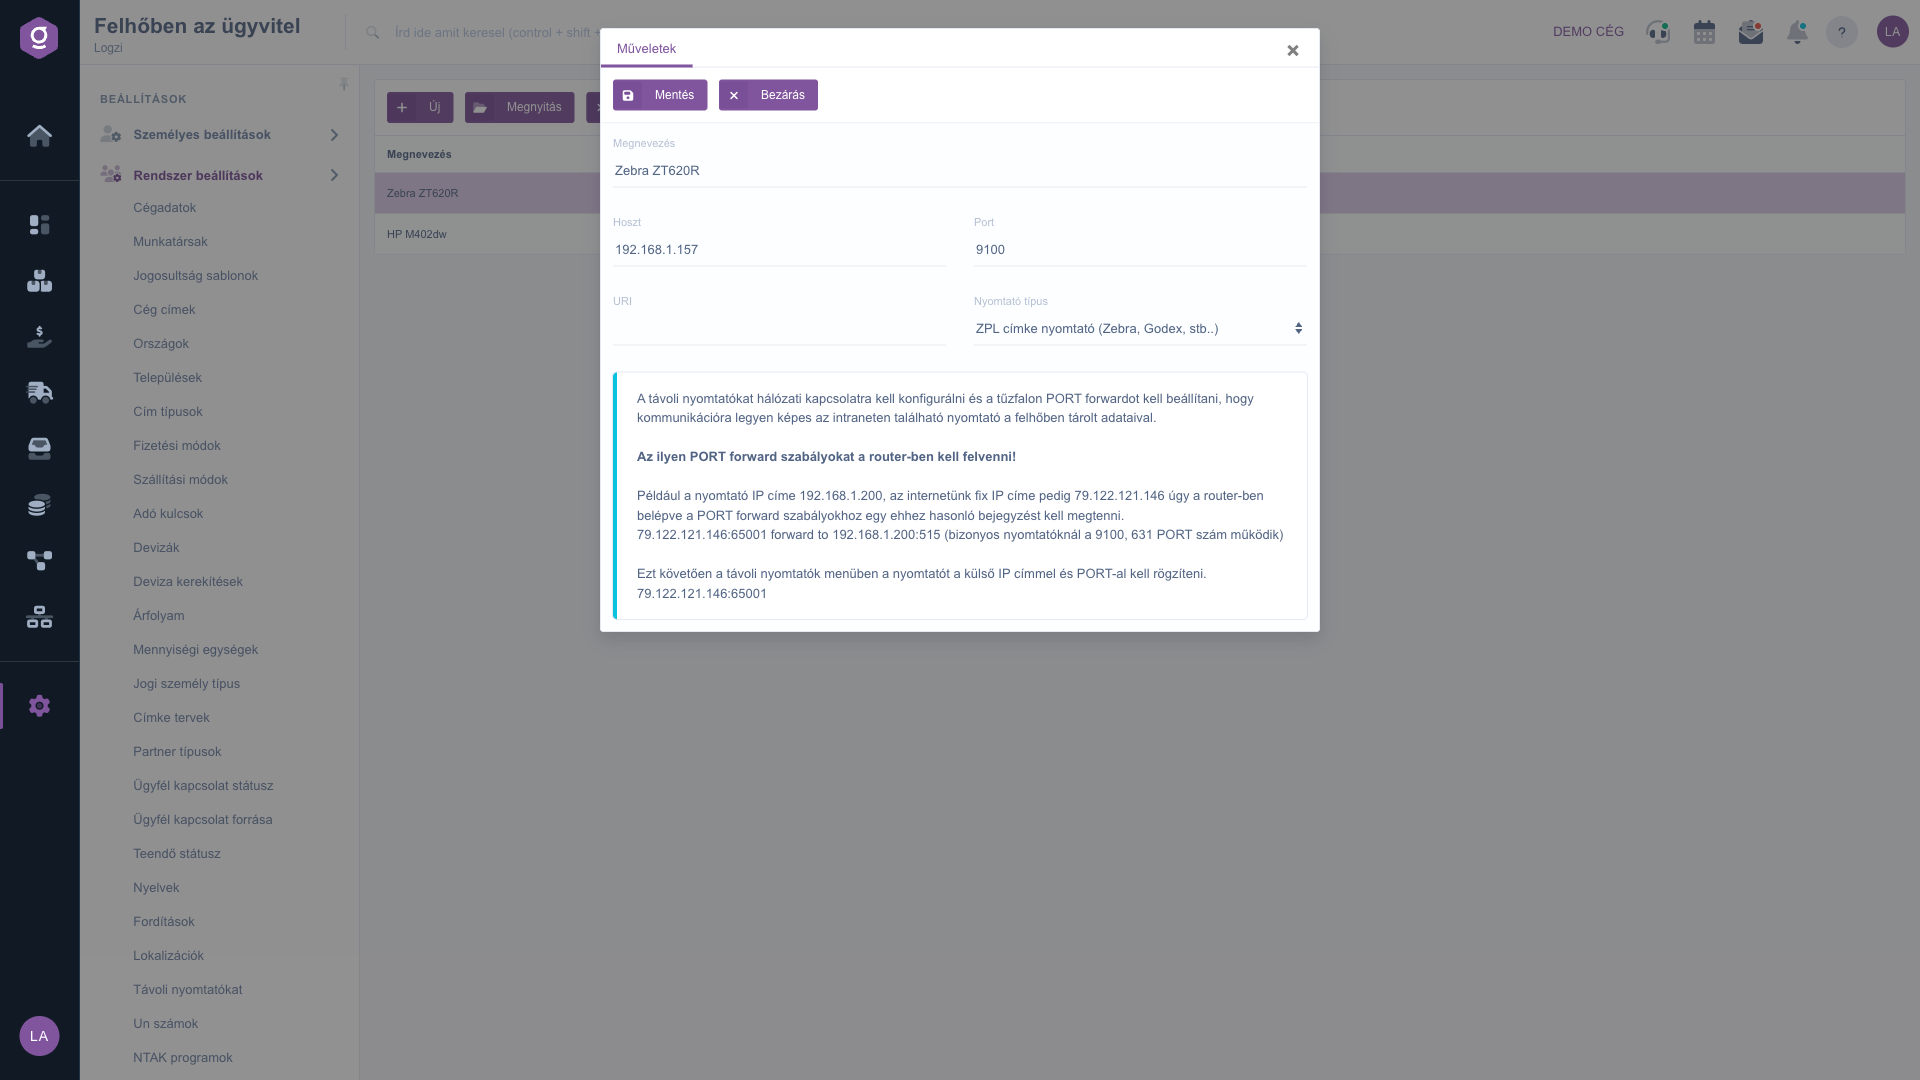
The remote printer must be configured for a network connection, and a port forward rule must be set up on the router so that the printer on the intranet can communicate with the data stored in the cloud. For example, if the printer IP address is 192.168.1.200 and the fixed IP address of your internet connection is 79.122.121.146, create a rule like this in the router: 79.122.121.146:65001 forward to 192.168.1.200:515 (on some printers port 9100 or 631 works). Then register the printer in this menu with the external IP address and port.
You must create the port forward rule in the router, not in Logzi. If you are not sure about the setup, ask your network administrator for help.

The fields of the remote printer form.
| Field | Required | Description |
|---|---|---|
| Name | The name of the printer shown in the list. | |
| Host | The address of the printer, the external IP address or host name. | |
| Port | The port number on which the printer is reachable. | |
| URI | The access path of the printer, if the type requires it. | |
| Printer type | The type of the printer from the list. |
The Printer type field is required; choose a value from the list.
The external IP address set up on the router and the external port used in the port forward rule, for example 65001.
Check that the port forward rule is set up on the router and that the printer is registered with the external IP address and port. On some printers port 9100 or 631 works.
You can delete the selected printer with the Delete button. After deletion it will no longer be available for printing.
The menu item is located under Main menu / Settings / System settings. If you do not see it, your user probably does not have the required permission; ask your administrator to check the settings.
Don't want to spend hours searching for a solution? Choose the most efficient way: book a personalized, 45-minute online training session dedicated entirely to you. Whether it's a walkthrough of the basics or a detailed setup of a specific module, our expert colleague will guide you through the whole process, step by step.
Don't waste your time - ask for help!
Our goal is to get you using our system as quickly and efficiently as possible. Whether you're completely new to us or stuck on a specific setting, don't hesitate to ask for help!
Create your account now,
pay later!

