On the Cities page you manage cities and their postal codes. The system offers this list when you enter a partner address, a company address or a shipping address, so addresses stay consistent and free of typing errors.
Click Main menu / Settings / System settings / Cities. At the top you see the New, Open and Delete buttons, and below them the long alphabetical list with the Name and Postal code columns. Click a row to select the city. The screenshots were taken in the Hungarian interface.
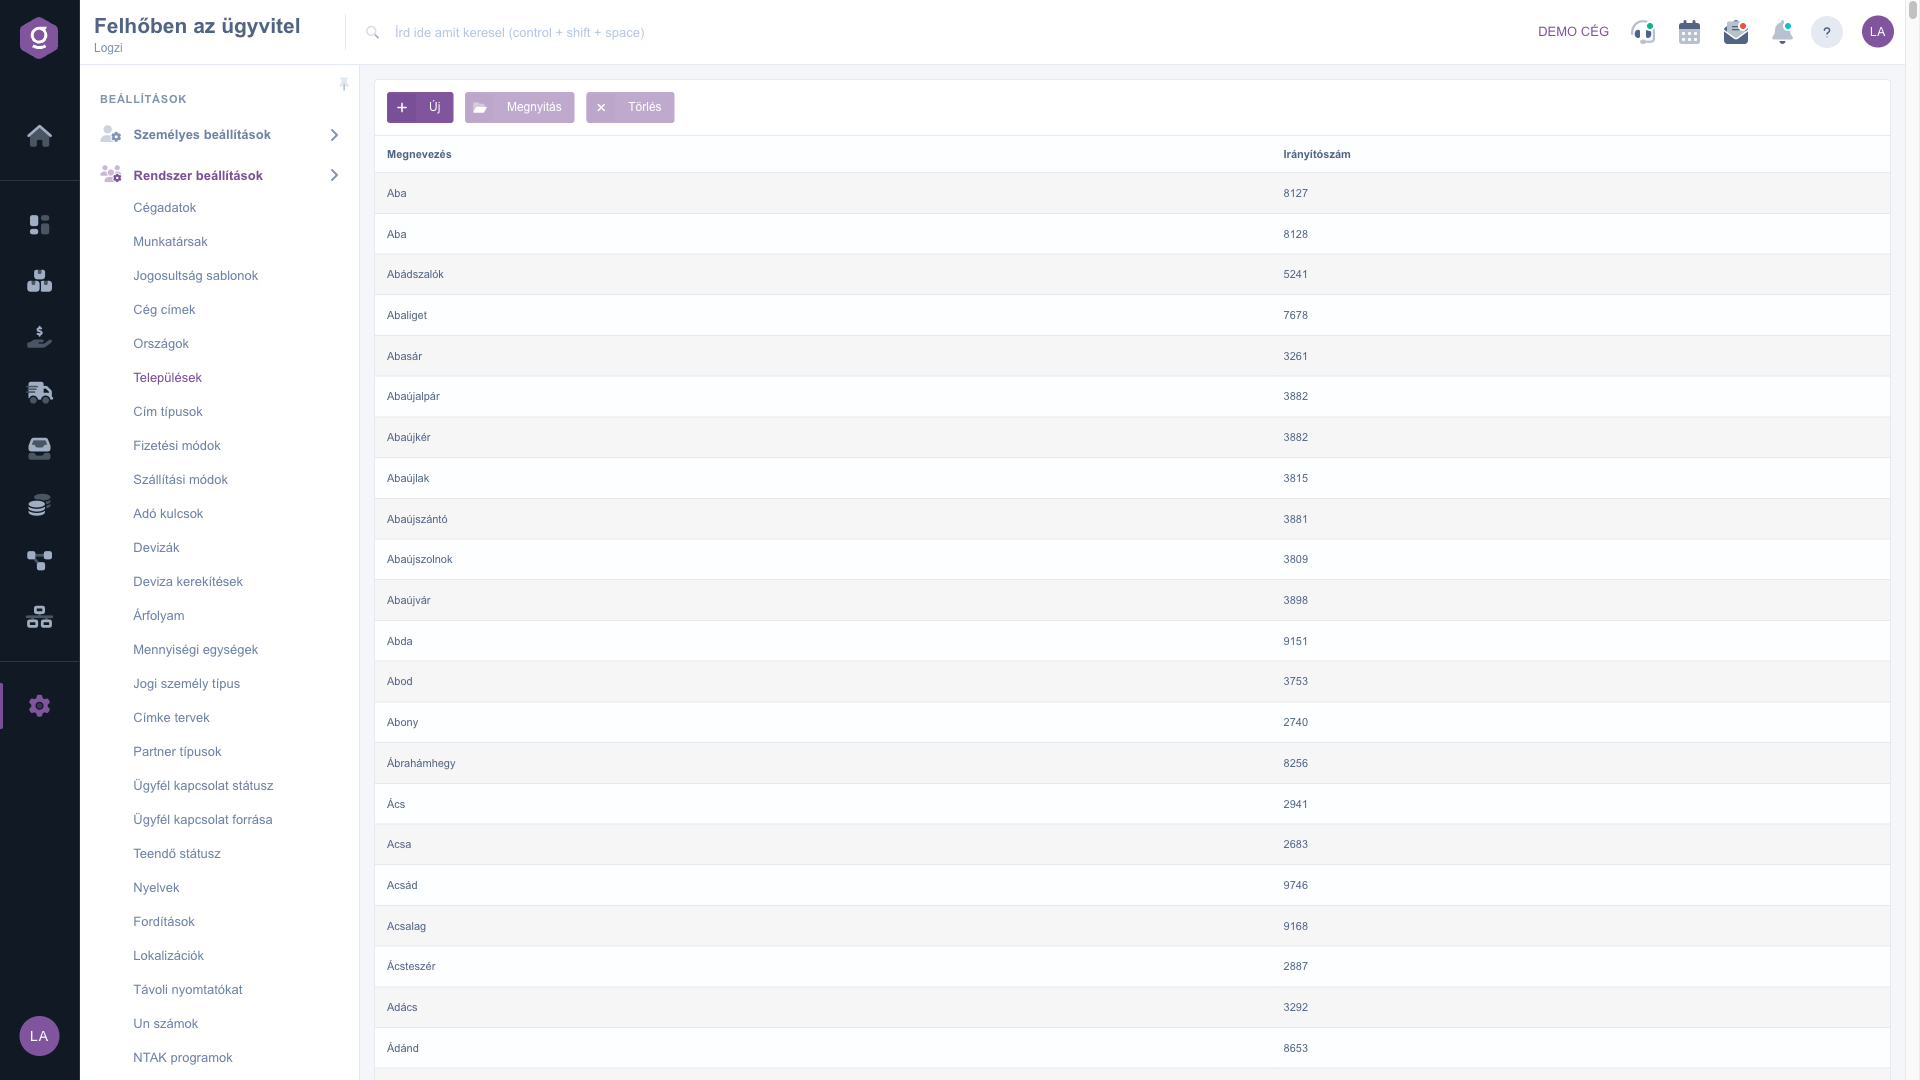
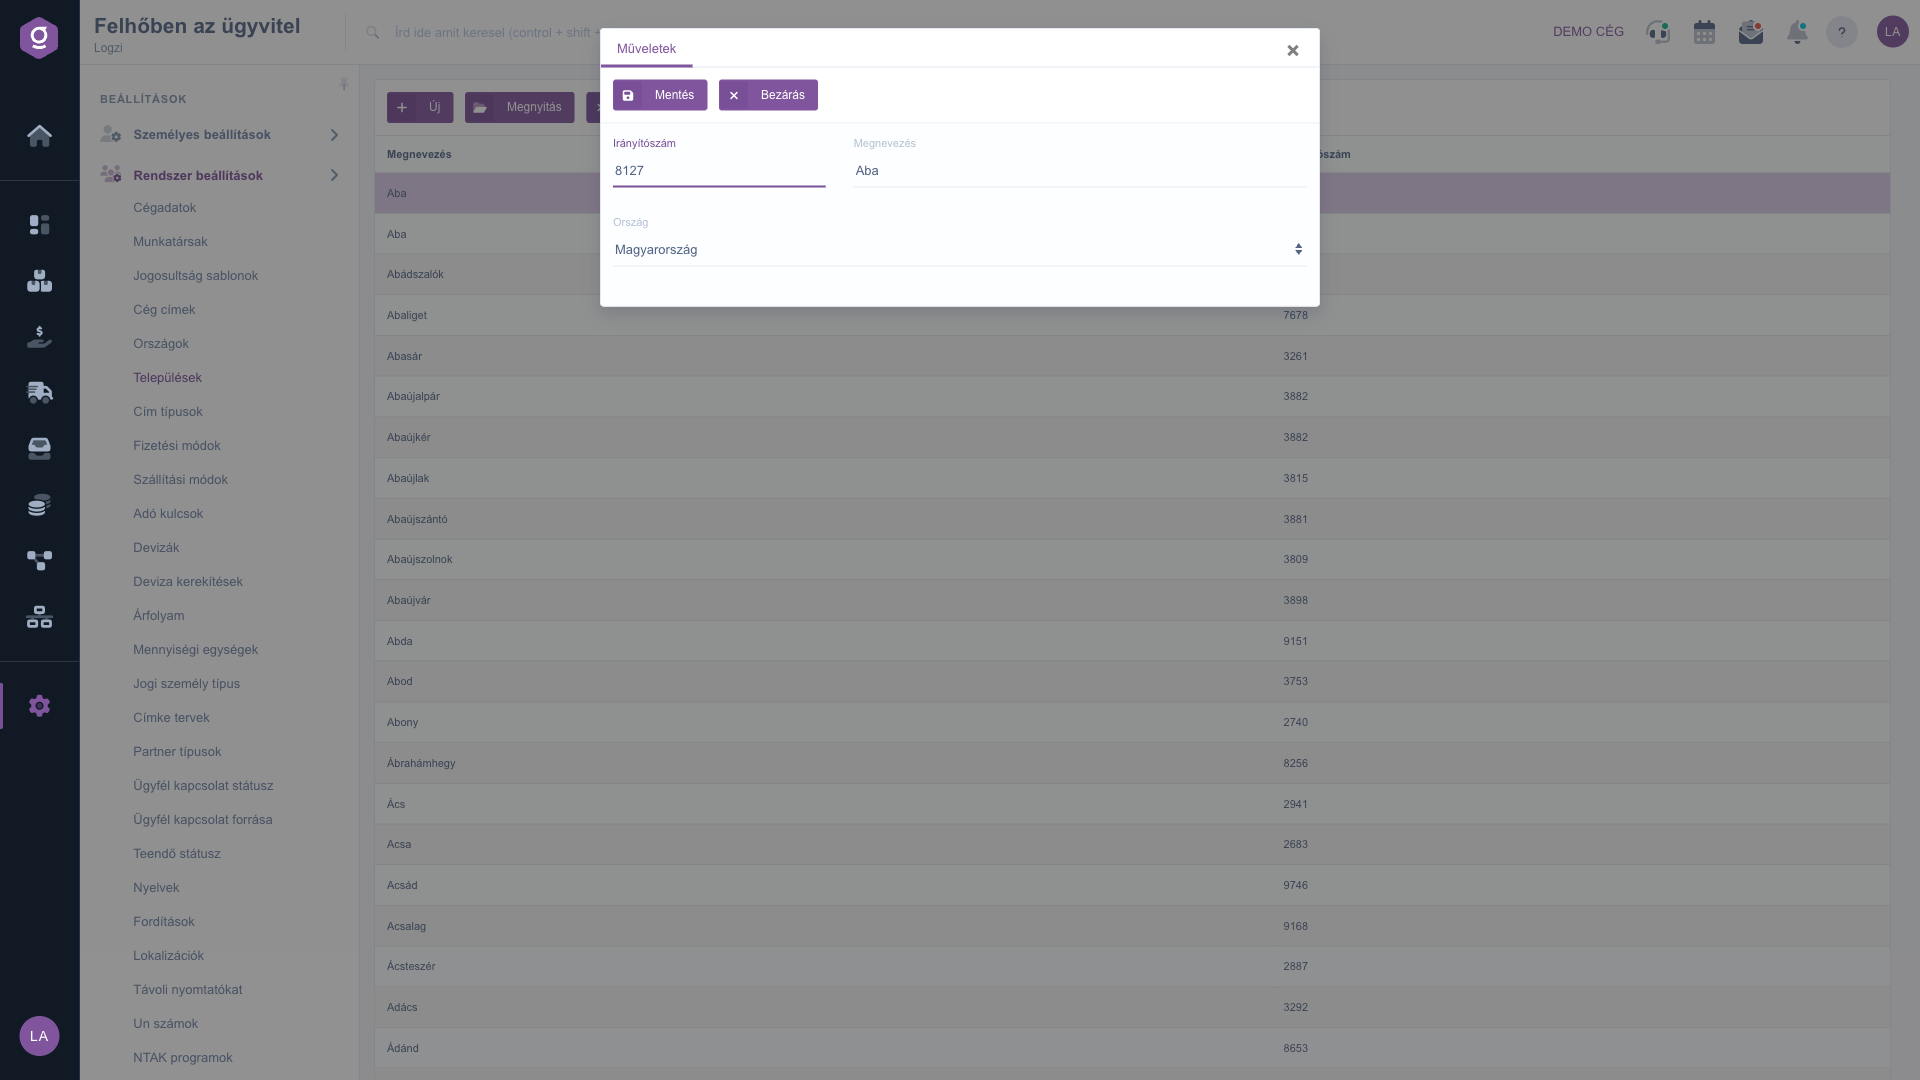
Click New, or select a row and click Open. On the Actions tab, below the Save and Close buttons, enter the Postal code and the Name, and choose the Country. Choosing the Country is required. Use Save to store the city.
Select the row and click Delete. A deleted city can no longer be selected for new addresses; the text already stored on earlier addresses remains.
If a city has several postal codes (for example larger towns), create the same name as a separate row for every postal code. This way you can also find the right row by postal code when entering an address.
The fields of the city sheet.
| Field | Required | Description |
|---|---|---|
| Postal code | The postal code of the city (for example 8127). | |
| Name | The name of the city. | |
| Country | The country the city belongs to; you can choose from the countries created on the Countries page. |

If a city has several postal codes, each one is a separate row with the same name. The Postal code column tells the rows apart.
Click New, enter the postal code and the name, choose the country and save. The city can then be selected immediately for addresses.
Choosing the Country is required. If the country you need is not in the list, create it first on the Countries page.
Yes, select the row, click Open, correct the data and save. The change applies to address entries made afterwards.
The menu item is under Main menu / Settings / System settings. If you cannot see it, the required permission is probably not assigned to your user; ask your administrator to check the settings.
Don't want to spend hours searching for a solution? Choose the most efficient way: book a personalized, 45-minute online training session dedicated entirely to you. Whether it's a walkthrough of the basics or a detailed setup of a specific module, our expert colleague will guide you through the whole process, step by step.
Don't waste your time - ask for help!
Our goal is to get you using our system as quickly and efficiently as possible. Whether you're completely new to us or stuck on a specific setting, don't hesitate to ask for help!
Create your account now,
pay later!

