On the Install new extension page you see all available integrations in one place, grouped by topic (for example Webshop and Futárszolgálat – courier service). Every integration has a card with three highlighted features, the price and the Install button.
Click Main menu / Integrations / Extensions / Install new extension. The page shows the available integrations on cards, group by group. The screenshots were taken in the Hungarian interface.
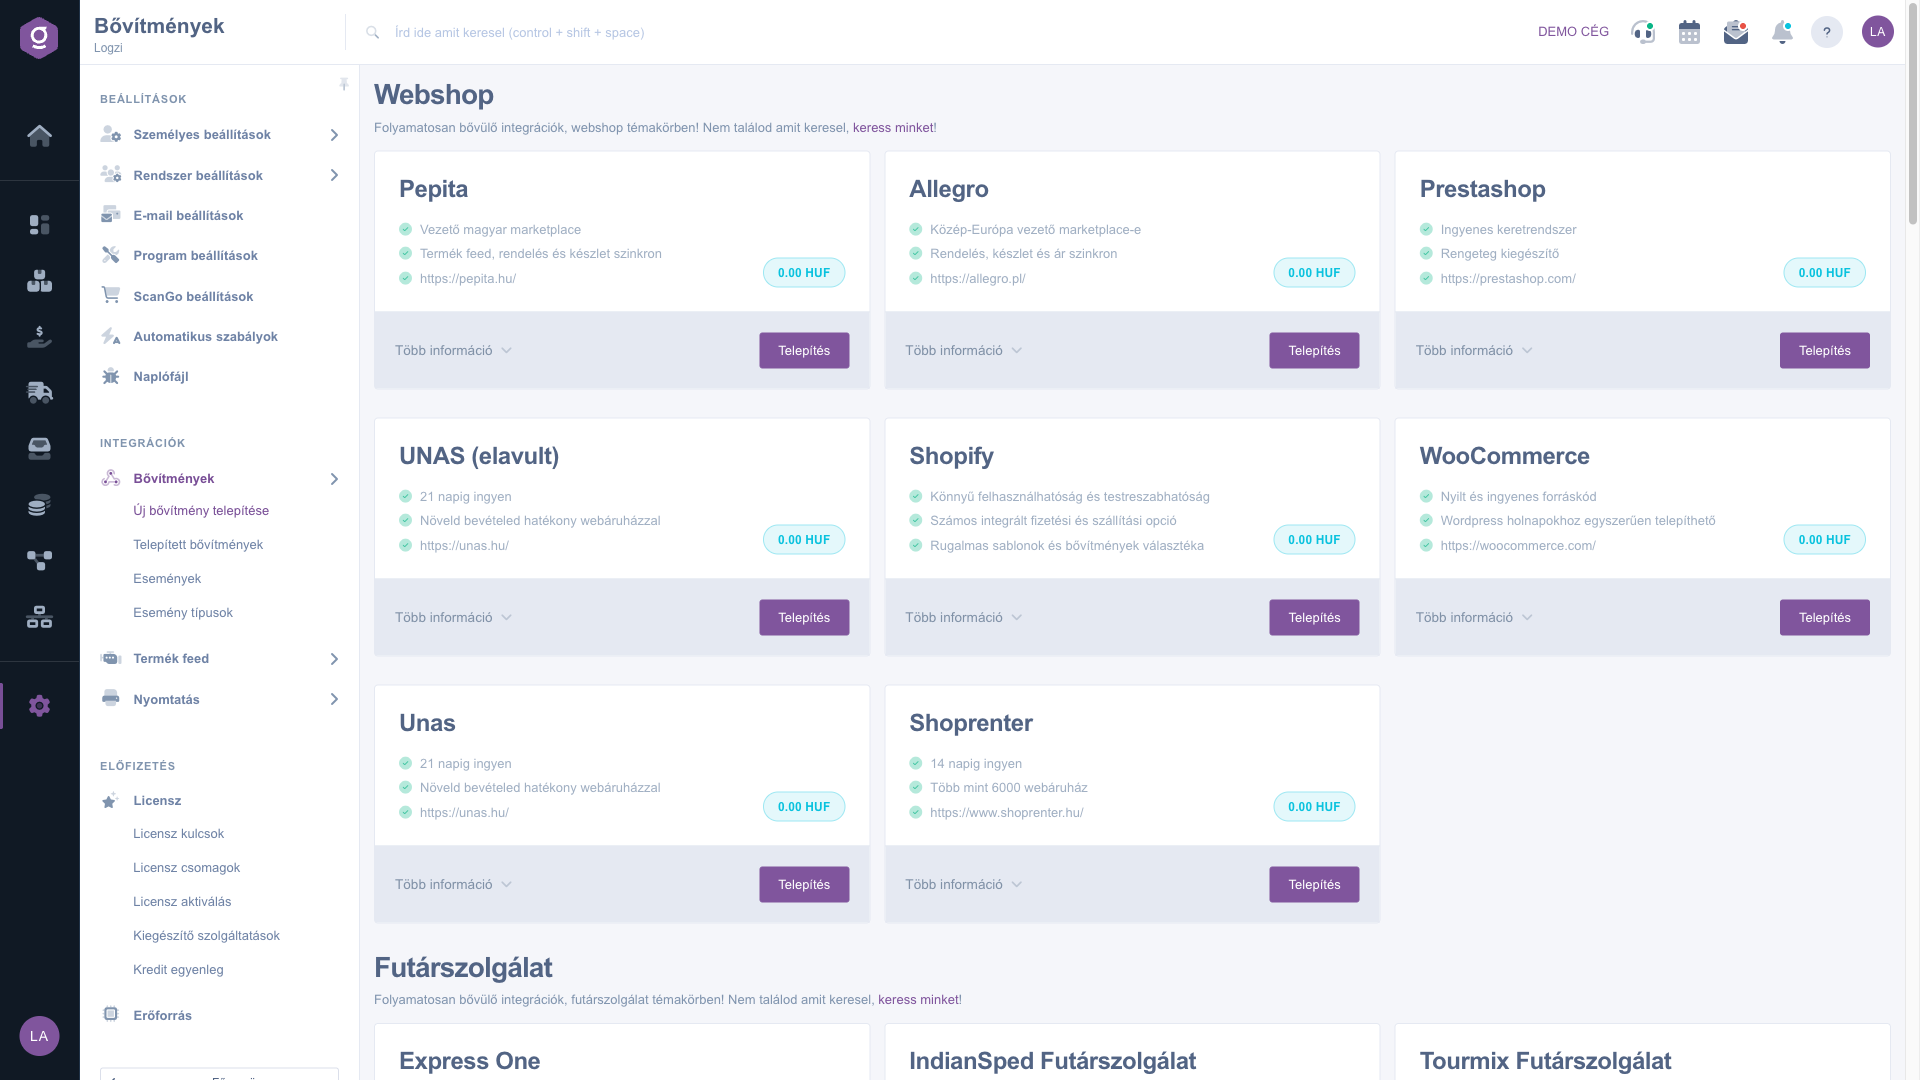
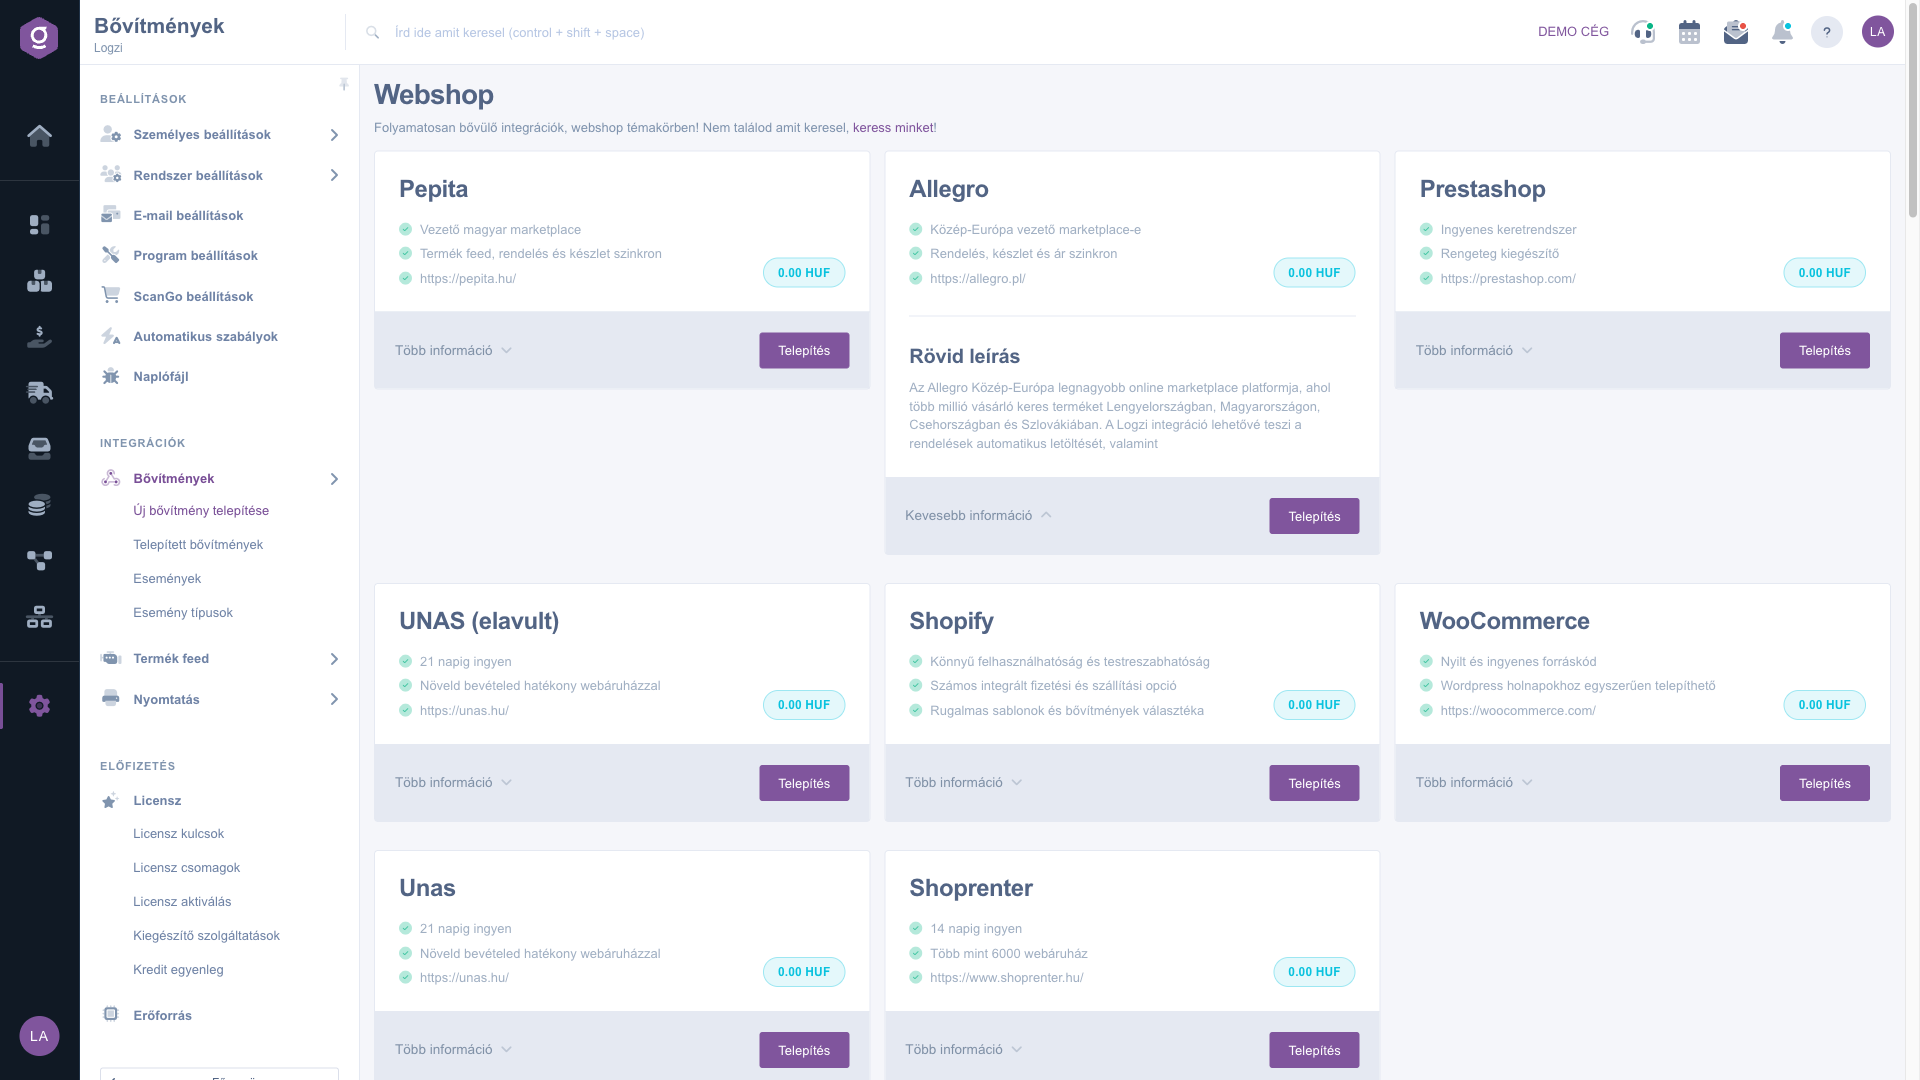
At the top of the card you see the name of the integration, below it three short features with a tick, and the price on the right. Click More information: the Short description appears below the card and the label changes to Less information. Click it again to collapse the description.
Click the Install button on the card of the chosen integration. The page of the new extension opens: the Type is already set to the integration, and the API name is prefilled with the name of the integration and the word “integration”. You can rename it; after filling in the settings of the extension click Save. The details of the settings are in the Installed extensions help.
Under every group heading there is a contact us link: if you need an integration that is not yet in the offer, you can get in touch with us there.
You can install several extensions from the same integration (for example two webshops of the same type). Tell them apart by the API name.

The elements of the Install new extension page and the main fields of the new extension that opens on installation.
| Field / Element | Required | Description |
|---|---|---|
| Group title | The name of the topic (for example Webshop, Futárszolgálat), with the integrations of the group below it. | |
| Card features | Three highlighted features of the integration, for example the synchronised data or the website. | |
| Price | The monthly fee of the extension on the right of the card. | |
| More information / Less information | Expands or collapses the Short description. | |
| Install | Creates a new extension from the given integration. | |
| API name | The name of the extension in Logzi; prefilled with the name of the integration, can be changed. | |
| Type | The type of the integration; automatically the integration of the card you clicked. | |
| Active | Yes or No: whether the extension is working. Yes by default. |
You see the price of the extension on the right of the card. The amount shown is for information; ask customer support about the current terms.
No, the button only creates the new extension. To make it work you have to fill in its settings (for example the access data) and save the page.
Yes, you can create several extensions from the same integration. Give them different API names so that you can tell them apart.
Open the extension on the Installed extensions page and use the Delete button, or set the Active field to No if you only want to pause it.
The menu item is under Main menu / Integrations / Extensions. If you cannot see it, the required permission is probably not assigned to your user; ask your administrator to check the settings.
Don't want to spend hours searching for a solution? Choose the most efficient way: book a personalized, 45-minute online training session dedicated entirely to you. Whether it's a walkthrough of the basics or a detailed setup of a specific module, our expert colleague will guide you through the whole process, step by step.
Don't waste your time - ask for help!
Our goal is to get you using our system as quickly and efficiently as possible. Whether you're completely new to us or stuck on a specific setting, don't hesitate to ask for help!
Create your account now,
pay later!

