1. Opening the form
Click the Main menu / Transport / Transport organization / New menu item to open an empty document. You can open an existing document on the Main menu / Transport / Transport organization / List page with the Open button. At the top of the page you find the Actions, Additional functions and View and layout tabs, and on the right the CRM link that opens the CRM notes panel. Below the header you find the Items, Customer comment, Internal comment, Settings, Related documents, Tasks, Files and Custom fields tabs. The screenshots show the Hungarian demo interface.
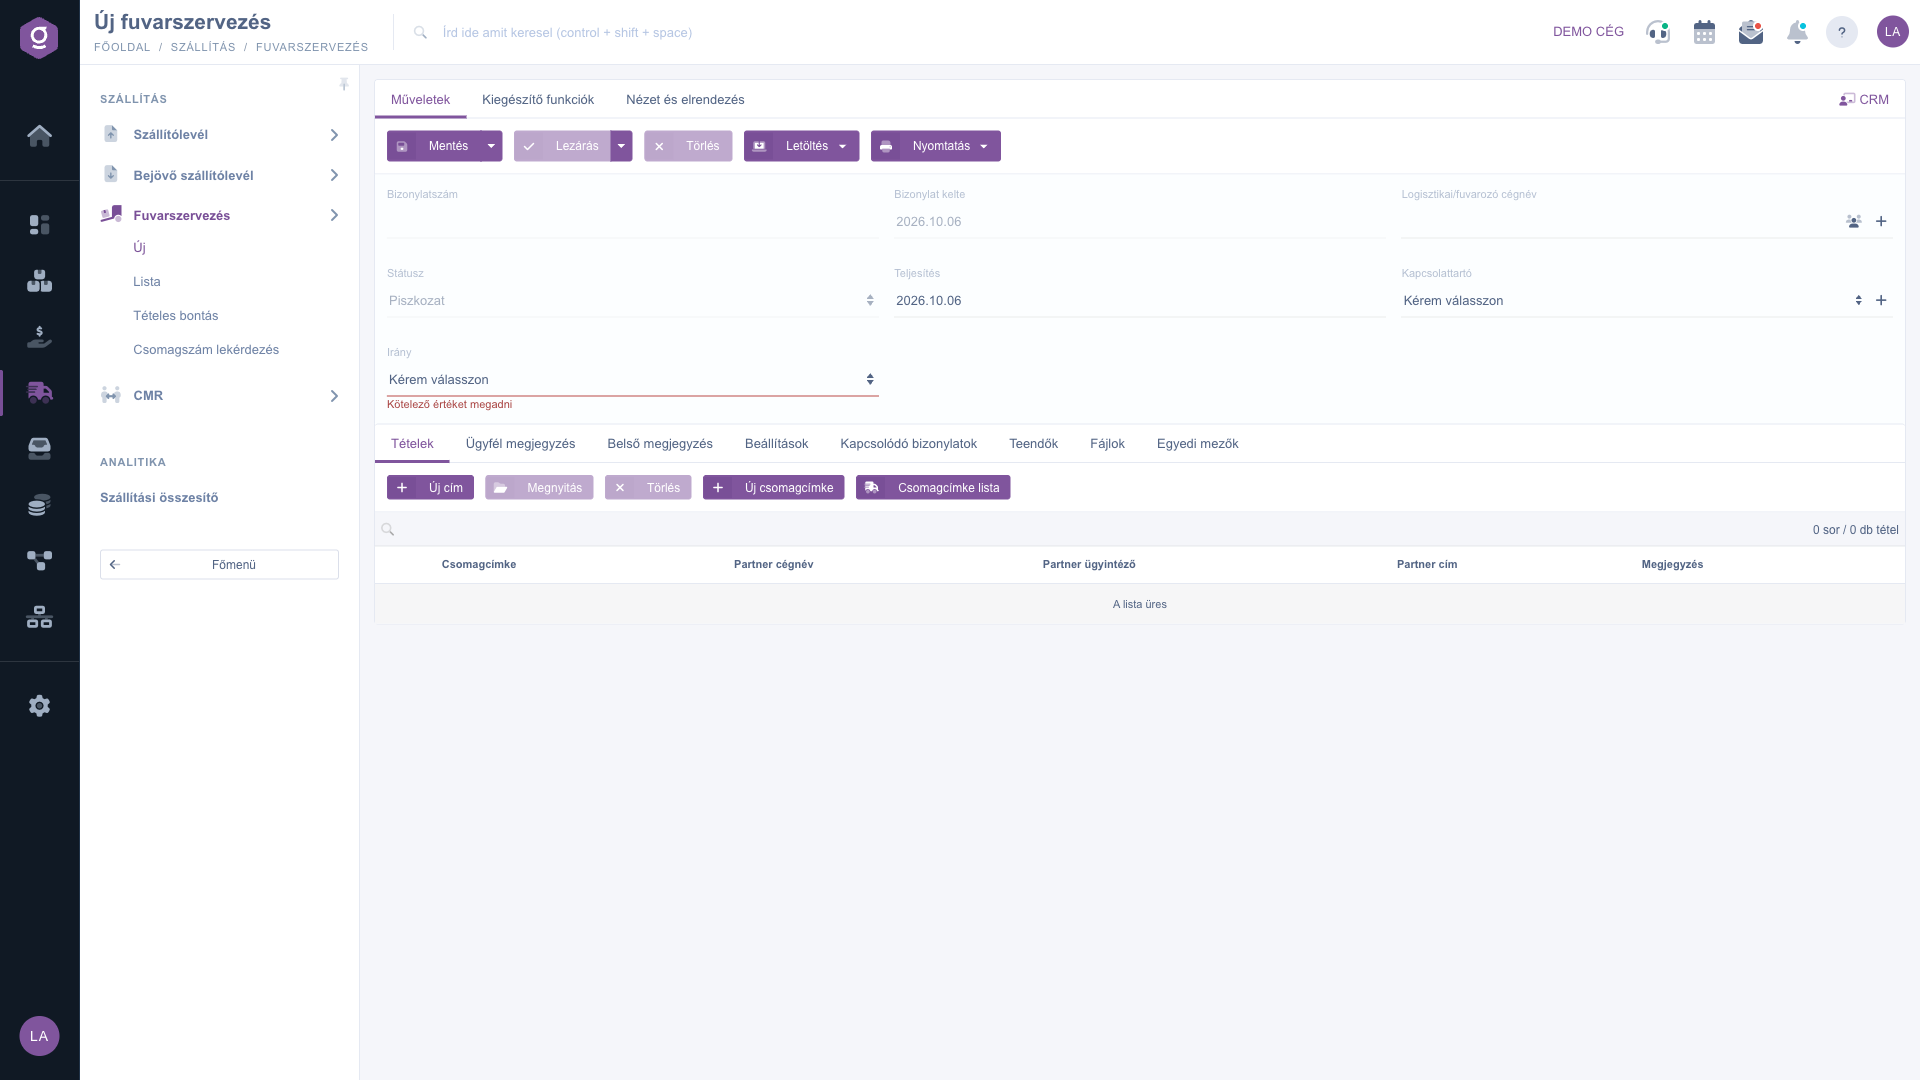
New transport organization document – empty form
2. Filling in the header
The fields of the header:
- Document number: assigned automatically on the first save (e.g. FUV000064/2026), cannot be edited.
- Status: a new document is Draft; the status is set by the system and cannot be edited.
- Document date: the date the document was created, cannot be edited.
- Performance date: required; you enter the date of the freight with the date picker.
- Logistics/Carrier company name: required; start typing the name of the carrier and choose from the logistics partners. With the icons next to the field you can open the data sheet of the selected partner, or add a new one with the + icon.
- Contact person: choose from the contact persons of the selected carrier company; you can add a new one with the + icon.
- Direction: required; Outgoing if the shipments leave your company towards partners, and Incoming if they arrive from partners to you. You can choose the direction only before the first save, afterwards it cannot be changed.
With the Save button you record the document — this is also when it gets its document number. From the arrow next to the Save button you can also choose Save and close.
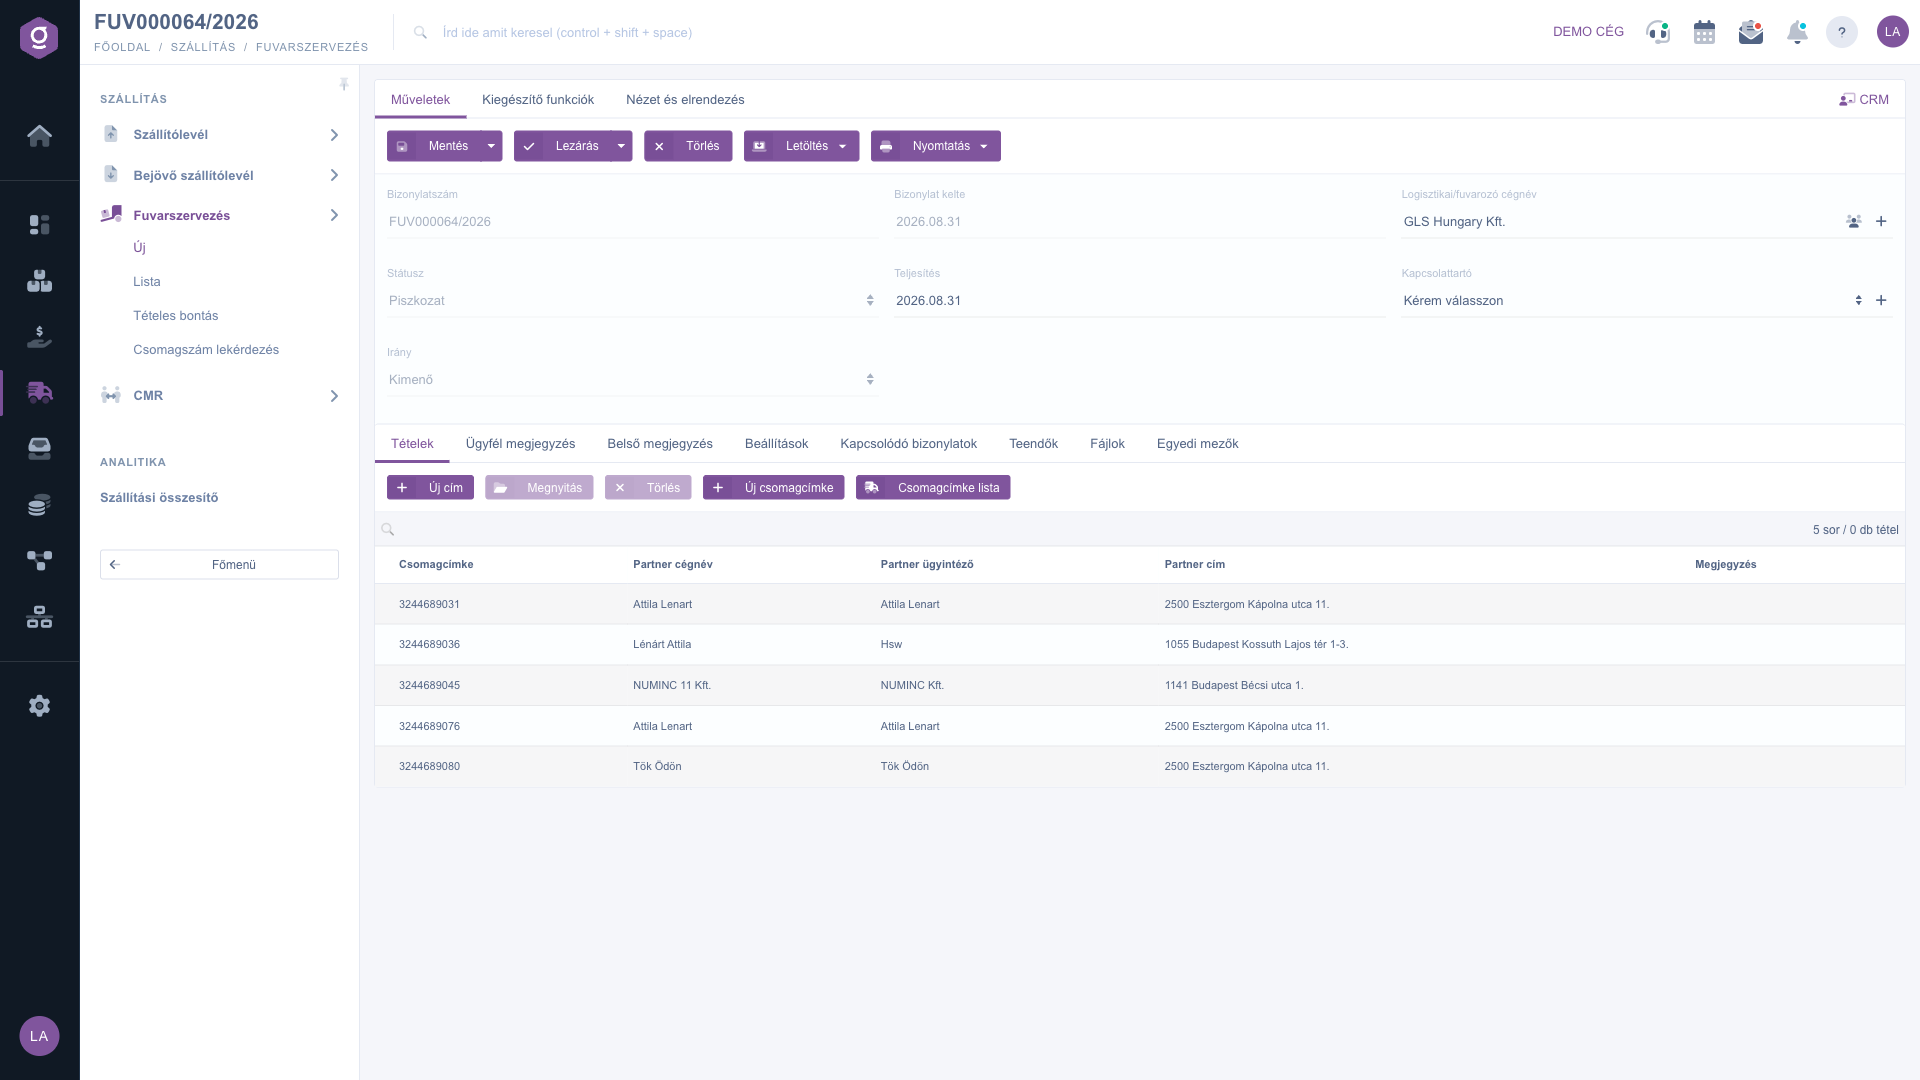
Saved transport organization document – header and addresses with parcel labels
3. Adding addresses on the Items tab
The table of the Items tab contains the shipping addresses, its columns are: Parcel label, Partner company name, Partner contact person, Partner address and Comment. The buttons of the tab:
- New address: adds a new shipping address to the document.
- Open: edit the selected address; active only with a selected row.
- Delete: removes the selected address; active only with a selected row.
- New parcel label and Parcel label list: see the next step.
In the window that opens when you click New address you enter: Recipient/Pickup company name (required; you choose the partner while typing), Contact person (required), Address (required) and Comment (free text). In the Contact person and Address lists you choose from the data of the selected partner. The Add button puts the address into the table, and the Close button closes the window without saving.
The buttons related to addresses (New address, Open, Delete) can be used only for a document in Draft status.
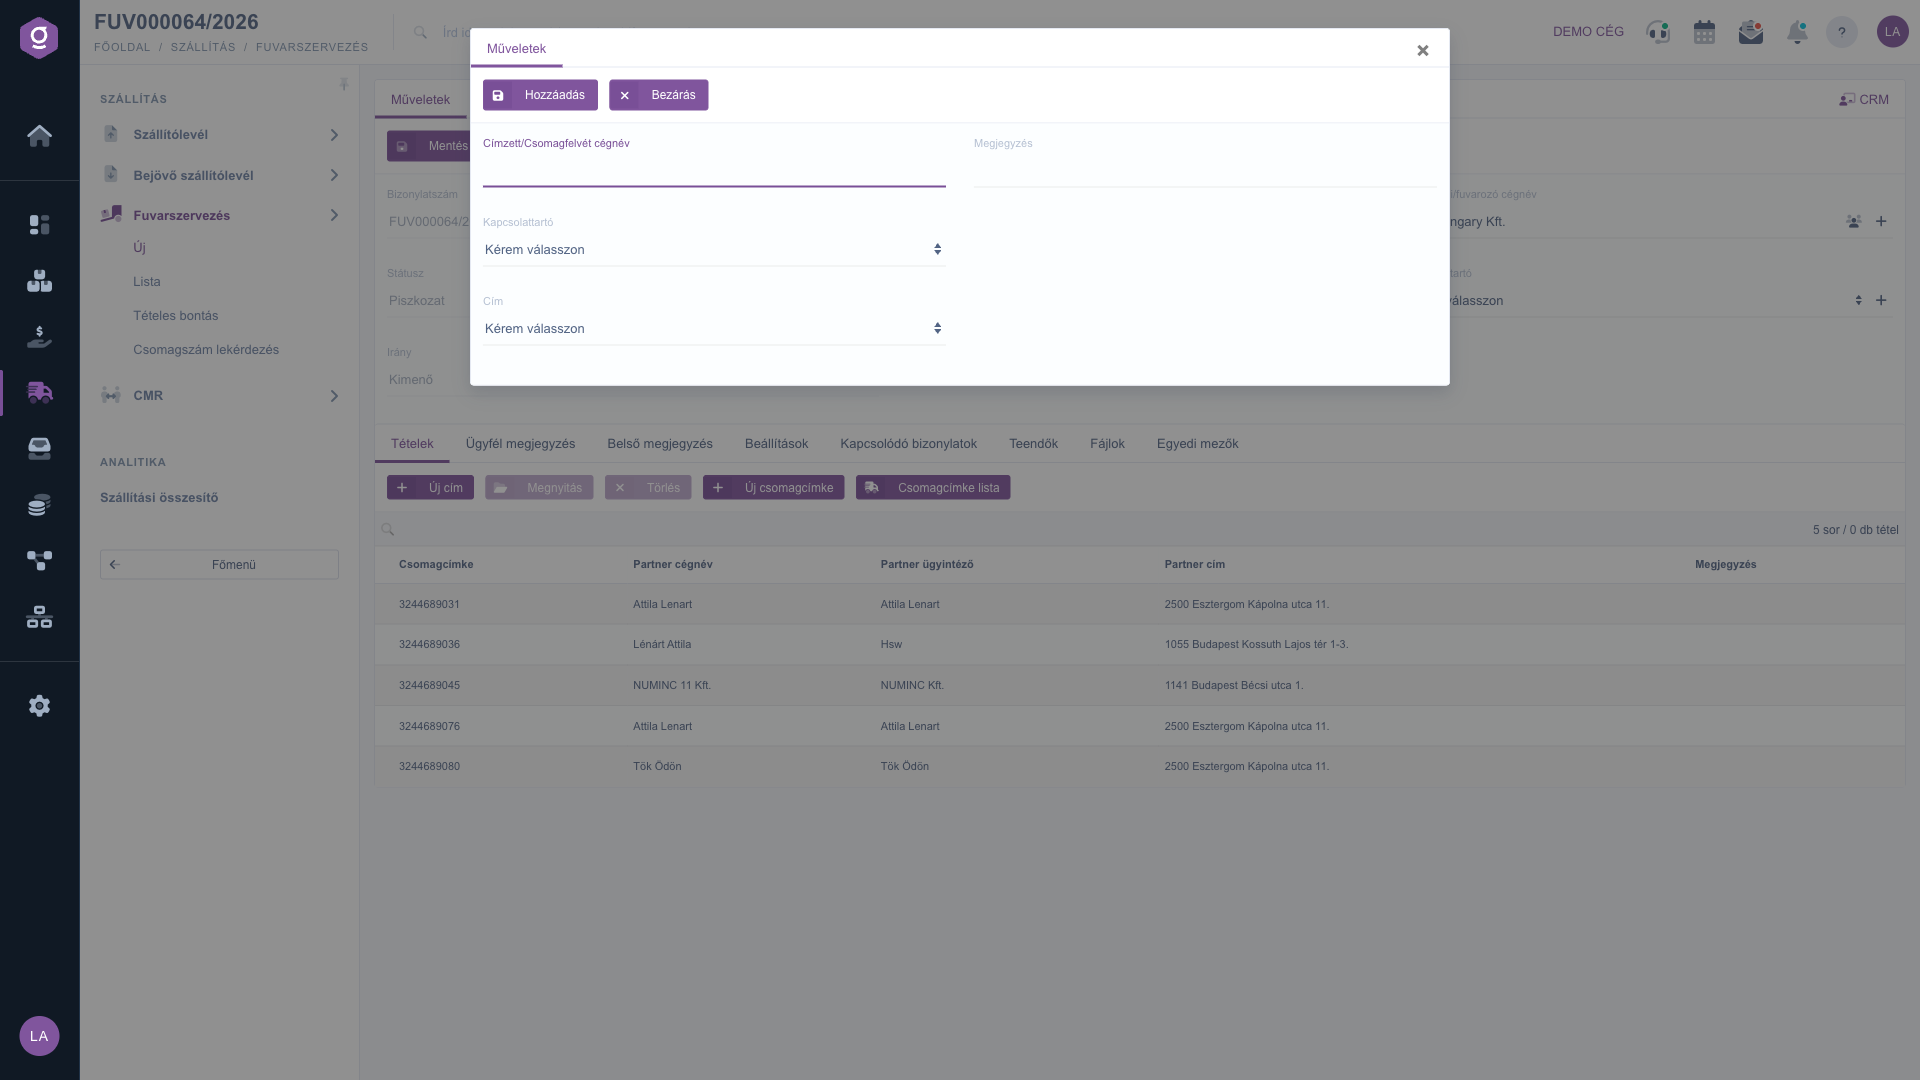
New address window
4. Creating a parcel label
Select an address in the table and click the New parcel label button — it is active only for a document in Draft status and with a selected row. The window that opens has two main tabs: Shipping address and Pickup (dispatch) address. On the Shipping address tab you find these fields: Partner company name, Recipient name (If not filled in, the Partner company name is displayed), Partner contact person, Partner address, Address comment and Reference number. Below them there are two sub-tabs:
- Parcel label data: in the Integrated parcel label creation field (Yes / No, required) you decide whether the system creates the label through the integration of the shipping company. With Yes the Shipping company and the Shipping type are required, and the Post point/Parcel locker field appears as well; with No these fields are hidden. In both cases you can enter the Quantity, the Weight (in grams) and the Cash on delivery amount (HUF). If the document has an internal comment, the Document internal comment field shows it (read-only).
- Parcel label services: choosing the additional services offered by the shipping company for the label.
The Save button records the label, the Close button closes the window without saving. You can view the labels of the selected address with the Parcel label list button — it can be used with a selected row in any status.
5. Comments and further tabs
- Customer comment and Internal comment: on both tabs you can pick a ready-made text from the list or write freely in the text field. The internal comment also appears in the New parcel label window.
- Settings: here you choose the Billing address of the document (required) from the billing addresses of your own company.
- Related documents: other documents related to the document (Document number, Document date, Document type, Issuing employee).
- Tasks: the tasks created for the document (Document date, Subject, Comment, Issuing employee).
- Files: the files attached to the document.
- Custom fields: the custom fields set up for your company.
6. Saving, closing and deleting
On the Actions tab you find the Save, Close, Delete, Download and Print buttons.
- Save: records the data, but the document stays editable. From the arrow you can also choose Save and close.
- Close: finalizes the document, it cannot be edited afterwards, and it works only for a Draft document. From the arrow you can also choose Close and print or Close and download, then the printout is produced right after closing.
- Delete: cannot be undone and is possible only for a Draft or Closed document; the button can be clicked in other statuses too, then the system shows an error message that the action is not allowed.
7. Download and print
The items of the Download menu:
- CSV: CSV export of the document; active only for a closed document.
- XLSX: XLSX export of the items of the document; active in Draft status too.
- PDF: the PDF version of the document; active only for a closed document.
- PDF preview: a sample printout without downloading; active in Draft status too, so before closing you can check how the document will look.
- Manifest: the list of shipments handed over to the carrier; active only for a closed document.
The items of the Print menu:
- Parcel labels: all parcel labels of the document; active in Draft status too, so you can print the labels before closing.
- Document: the printable version of the document; active only for a closed document.
Here the term “closed” covers not only Closed but also the Cancellation and Cancelled statuses. So in Draft status CSV, PDF, Manifest and the Document printout are grey — as you can see in the screenshot. In the window shown before the PDF, the PDF preview and the Document printout you can choose the language and the template.
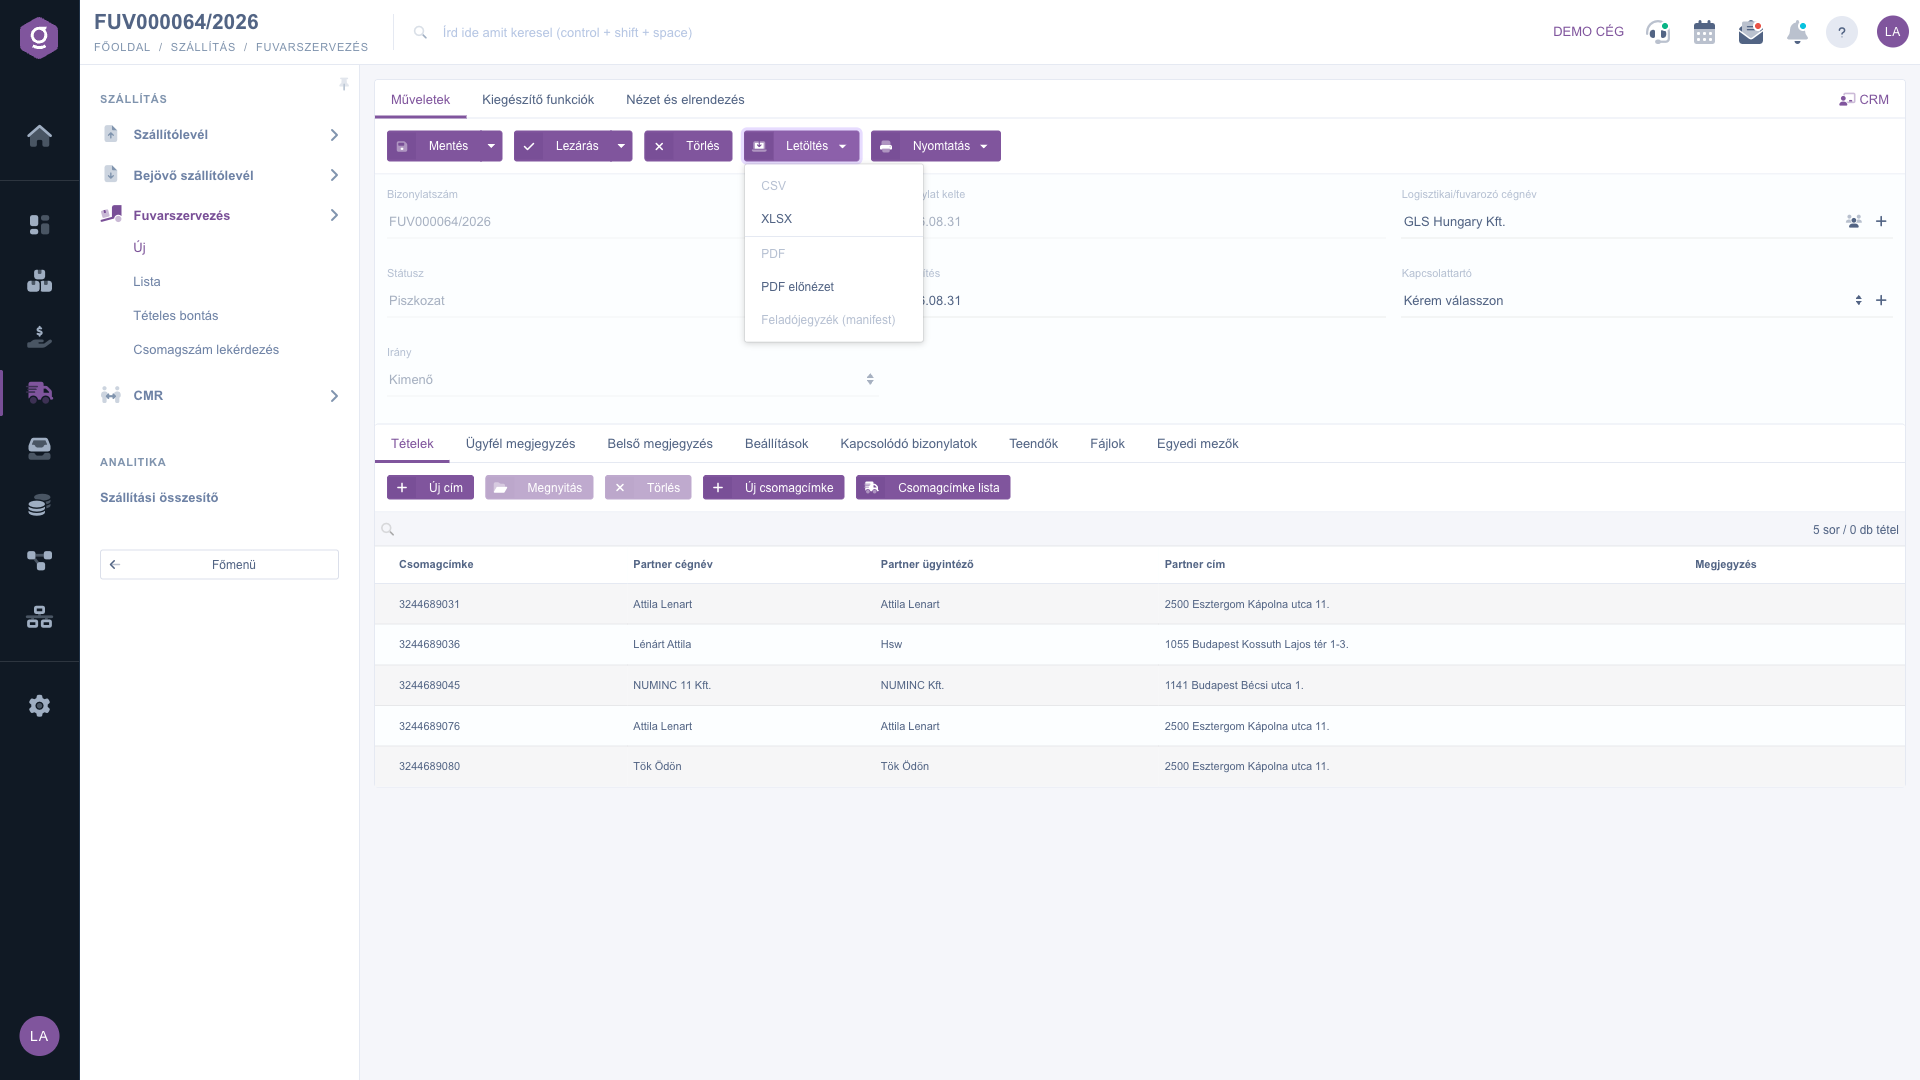
Download menu for a document in Draft status
8. Additional functions
On the Additional functions tab you find these buttons:
- Sent items: the emails sent about the document; active only for a closed document.
- New email: sending an email with the External mail client or the Internal mail client; can be used in Draft status too.
- New partner: adding a new partner on a separate page.
- New task: creating a task for the document.
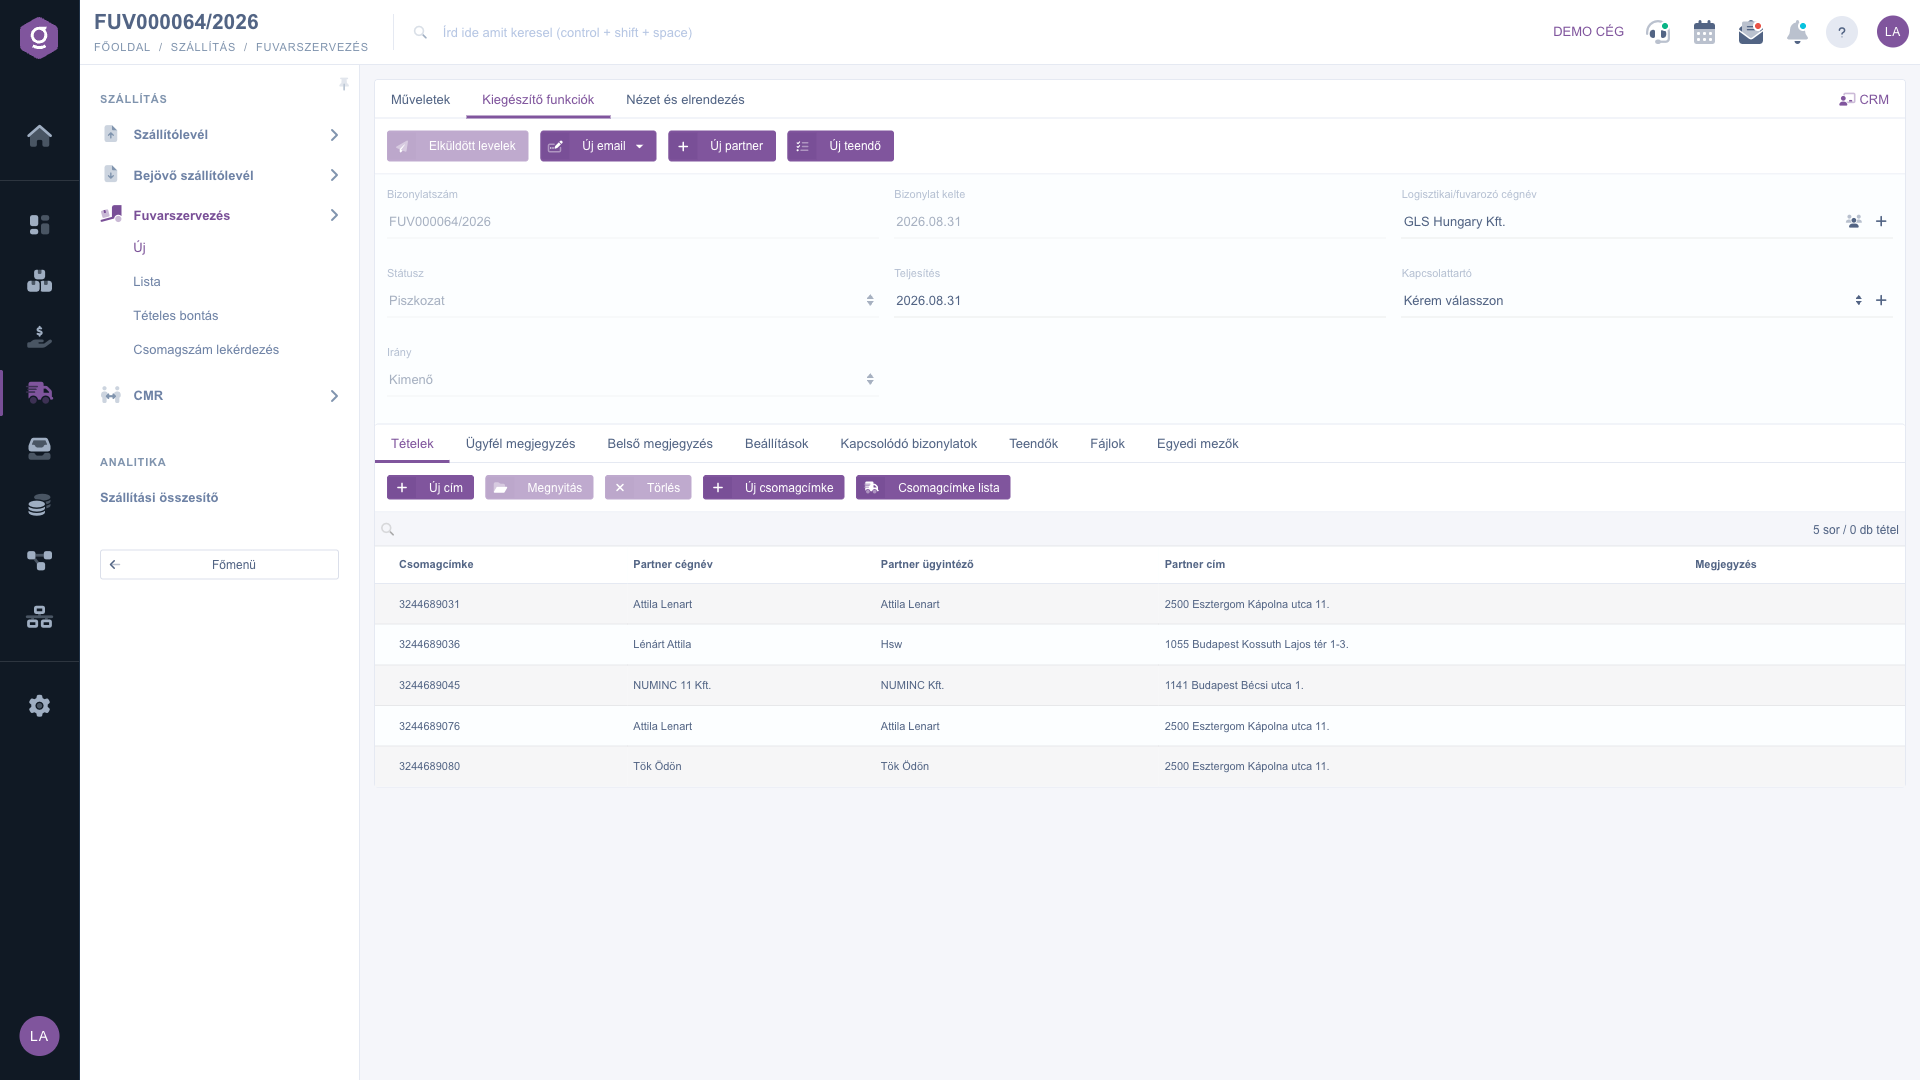
Additional functions tab
9. Customizing the view
On the View and layout tab, the Interface and behavior button lets you set the general appearance and behavior of the document page. The setting is saved for your user, so it stays in place the next time you log in.
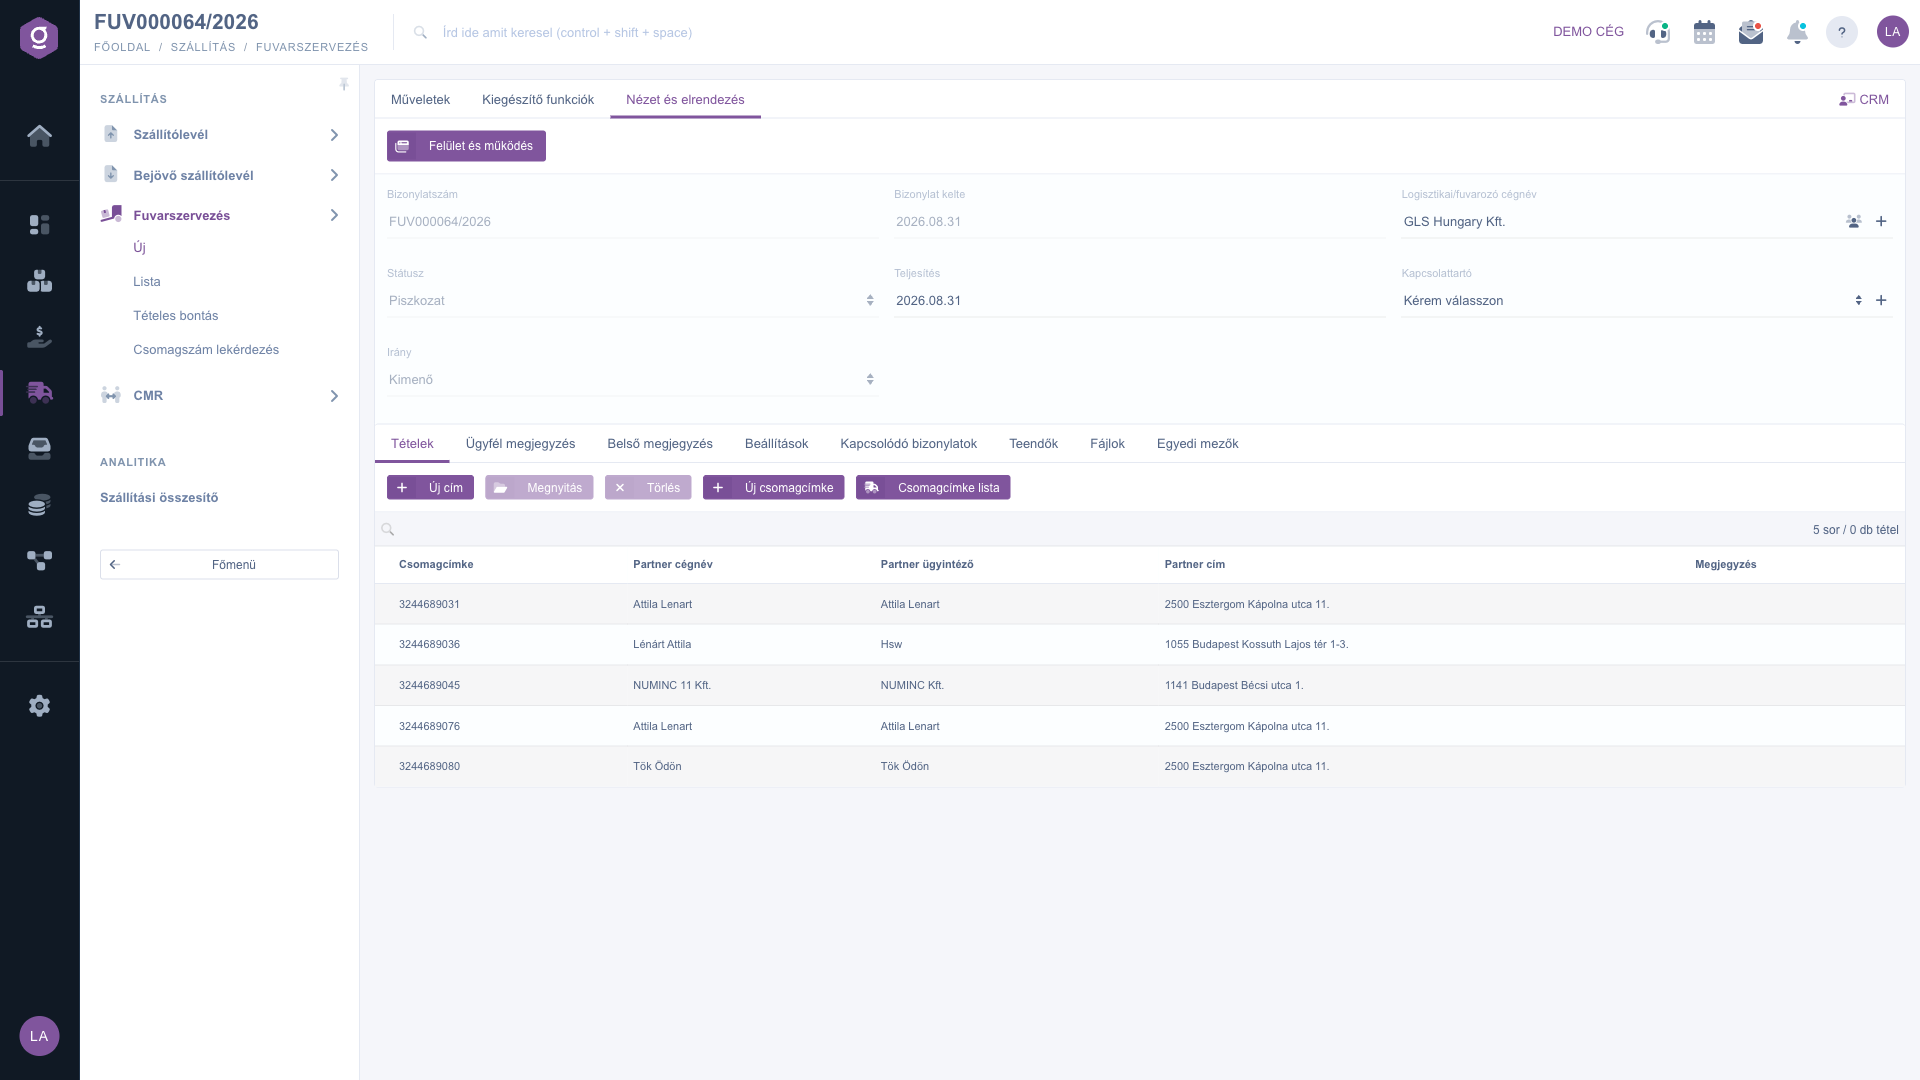
View and layout tab
Tip
Set the Direction before the first save, because afterwards it cannot be changed. And before sending, while the document is still a Draft, use PDF preview and Print / Parcel labels to check that every address and label is right — after closing, the document can no longer be edited.



